Add a Custom Domain
How to add a custom domain in Lapture Auth...
If you've connected your own domain the theme may not be yellow. Use your own domain insted of store.lapture.app
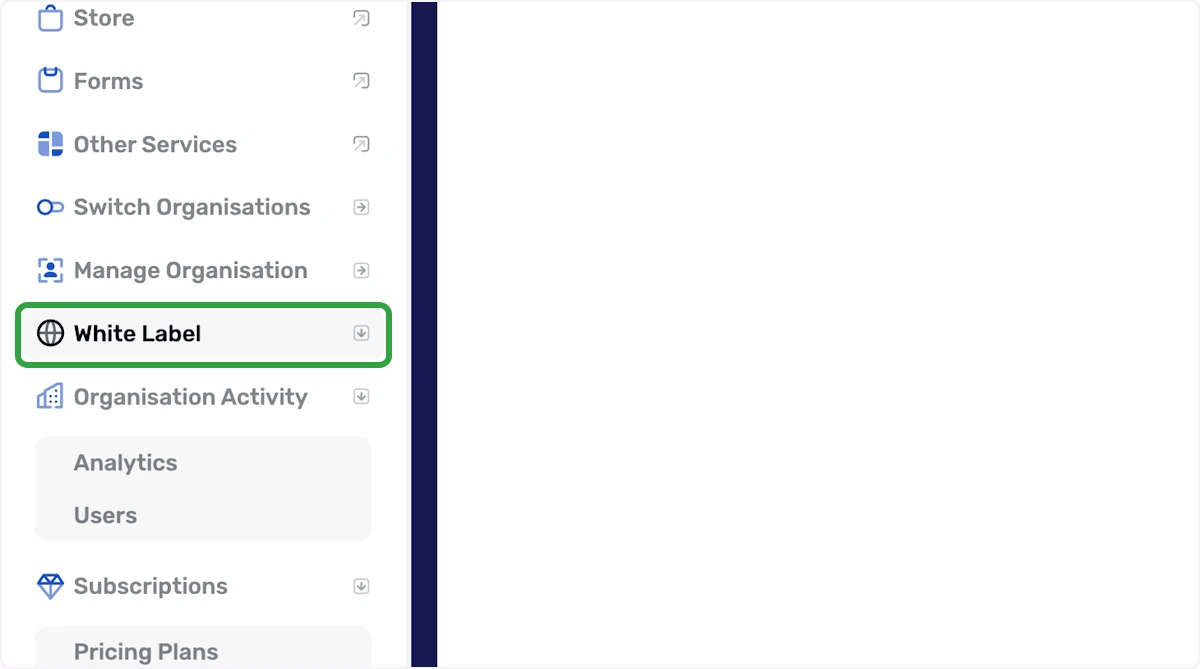
1. Click on White Label
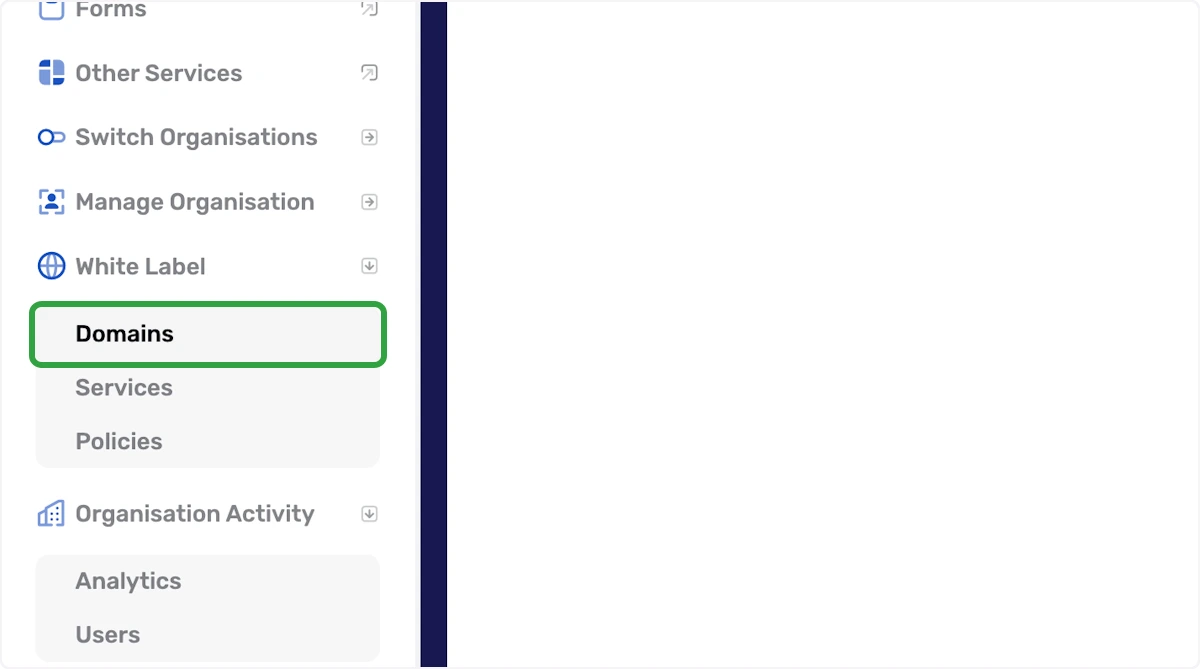
2. Click on Domains
3. You'll see Connect Your Domain for a Custom App
This is the page where you'll start to configure your custom domain.
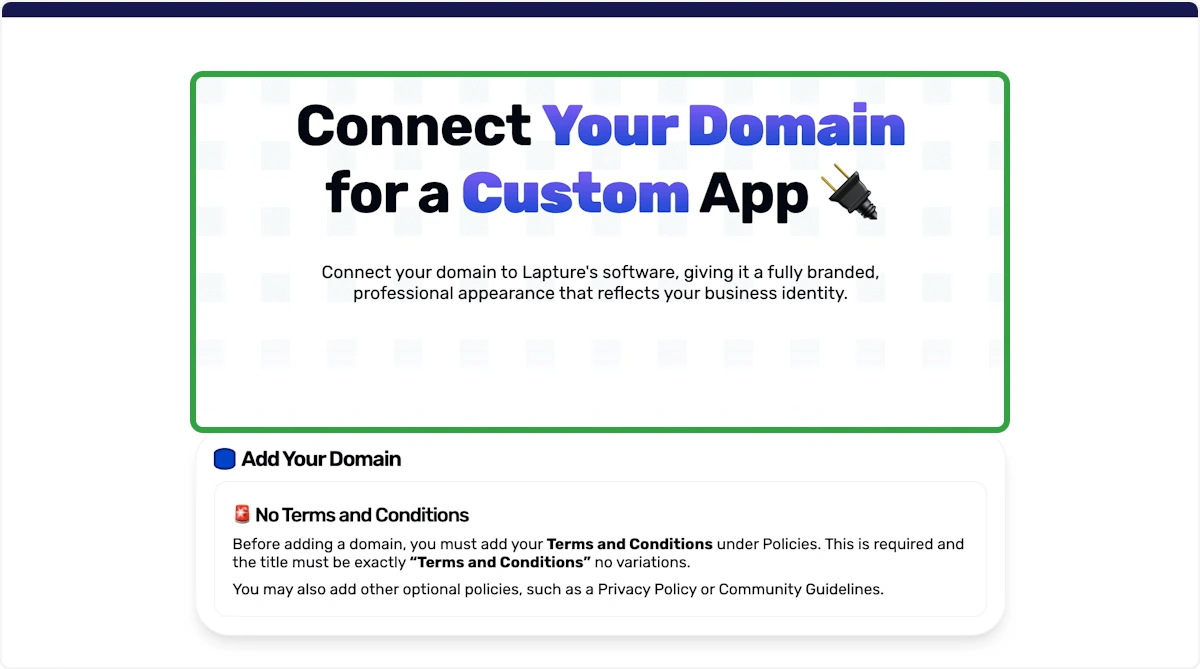
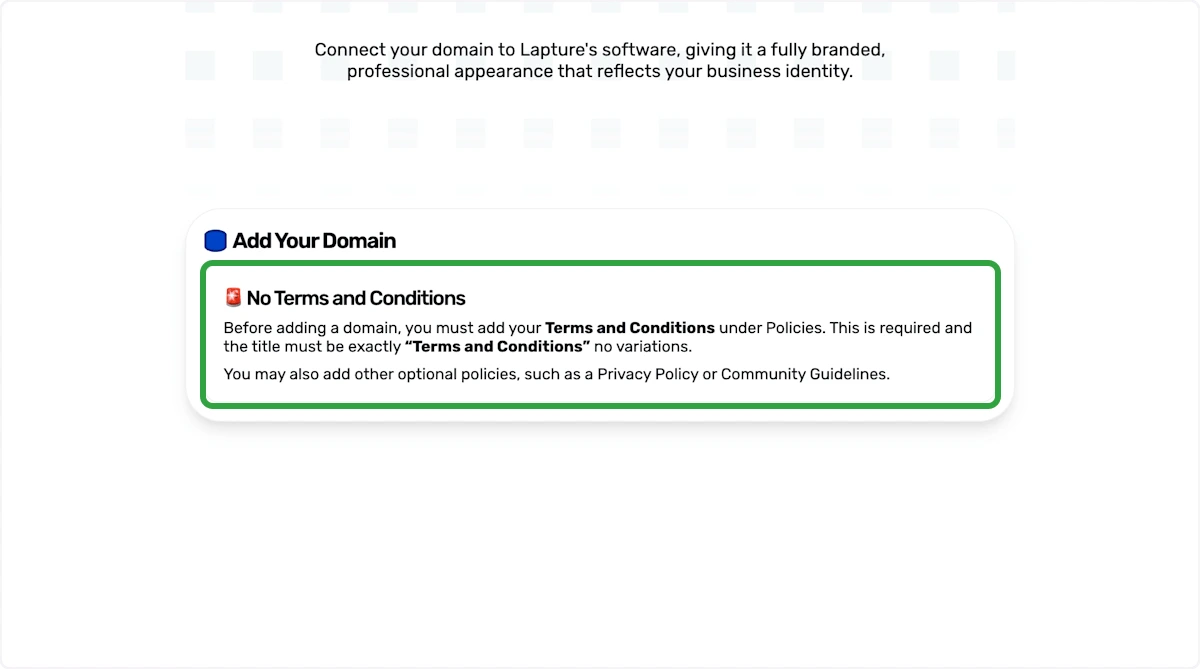
4. No Terms and Conditions
If you see "No Terms and Conditions", you'll need to add this first in the policies tab in the left navigation.
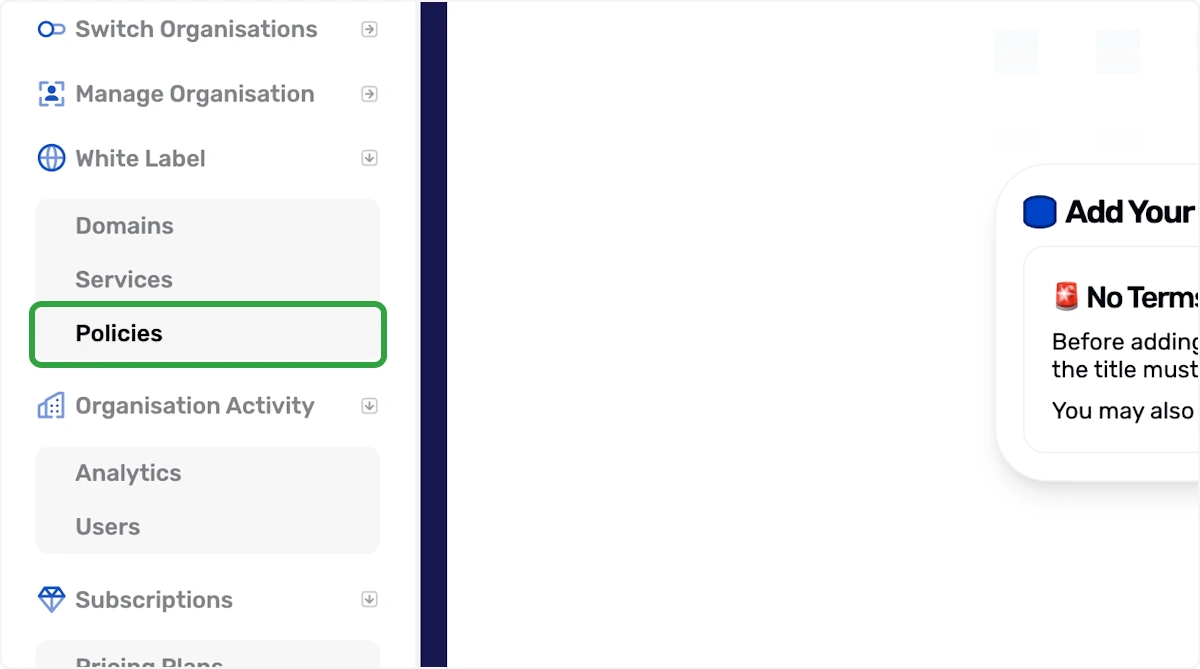
5. Policies Tab
Add a new policy and label it exactly "Terms and Conditions" and enter your terms and conditions in Markdown format. Remember to save.
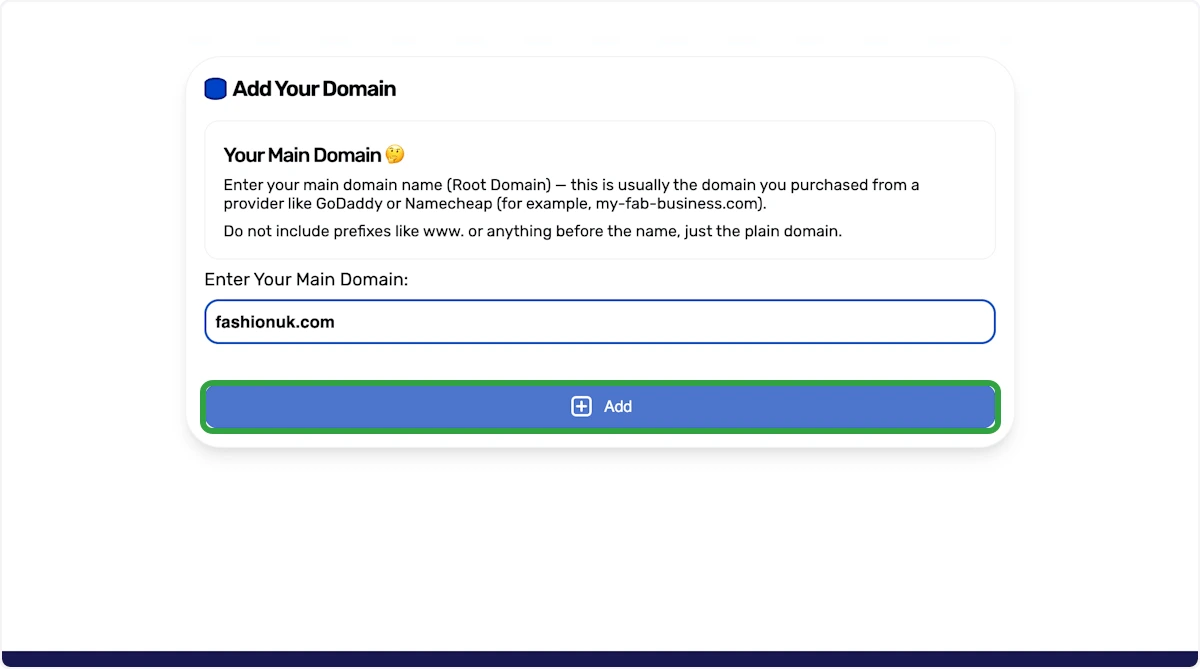
6. Click on Add Your Domain
Go back to the domains tab and the pages look like this if you've added your terms and conditions correctly.
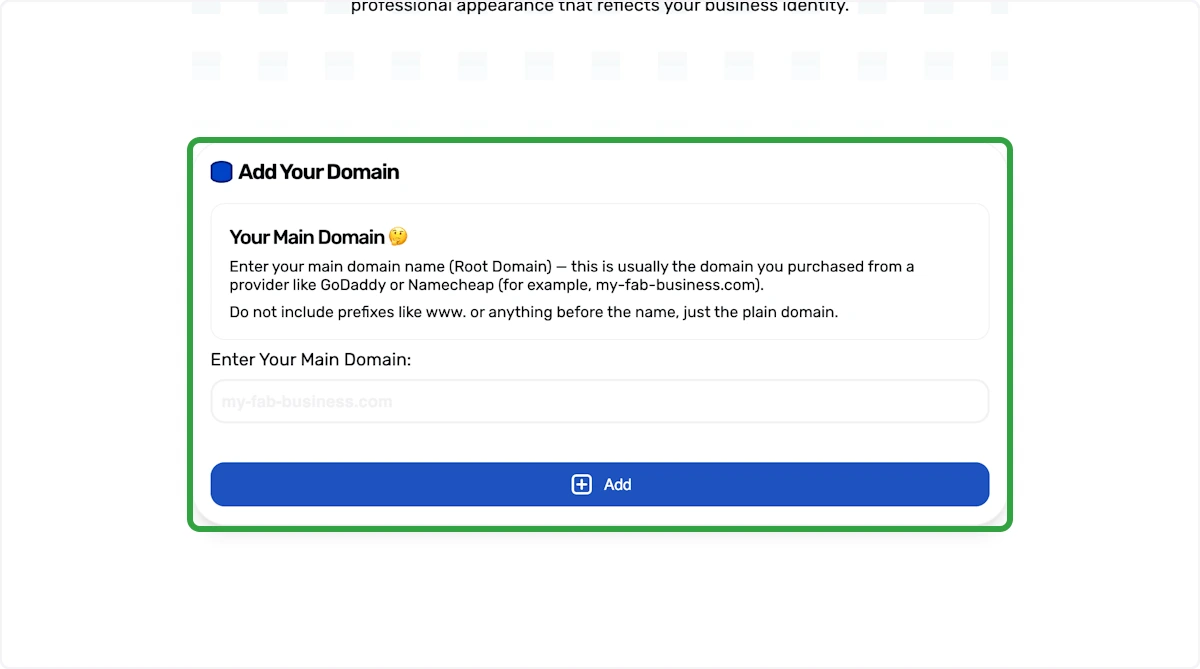
7. Type Your Domain
Type your main domain (Root)
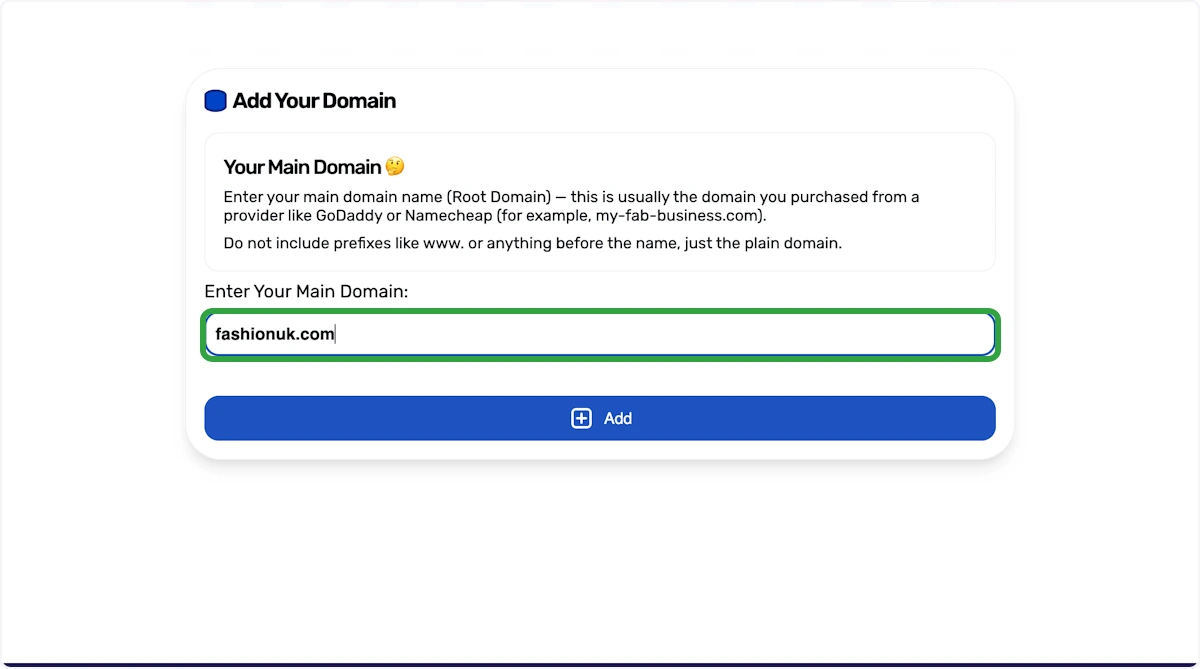
8. Click on Add Button
9. Setup Subdomains
You can now slide the switch for each subdomain you require to be used.
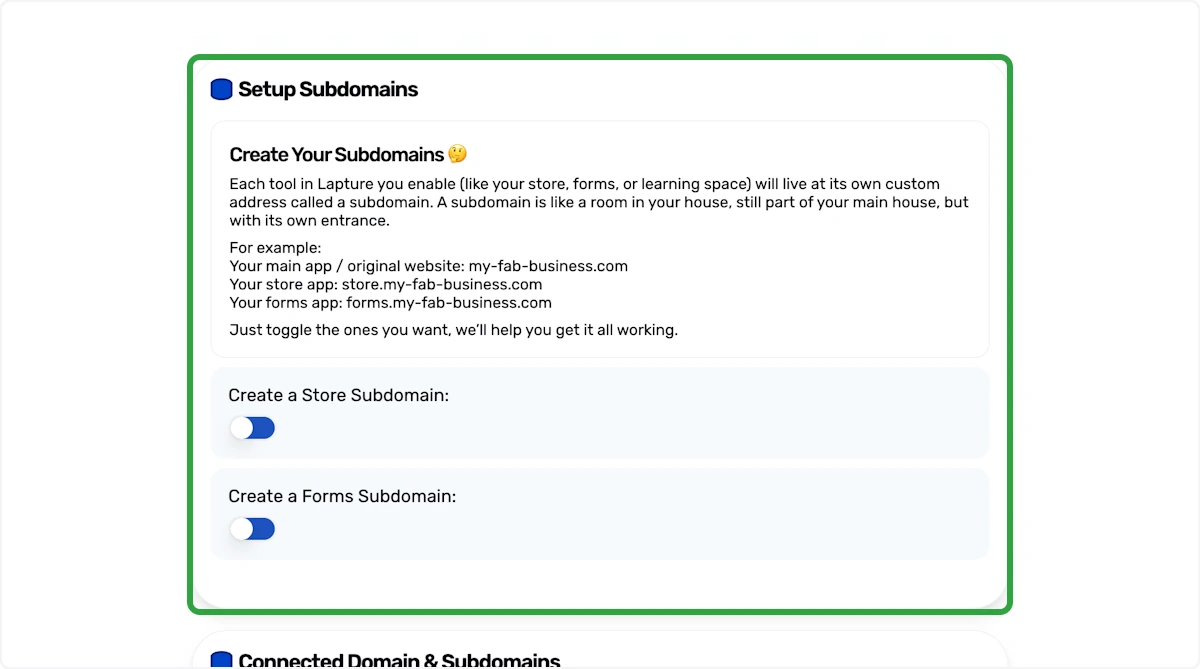
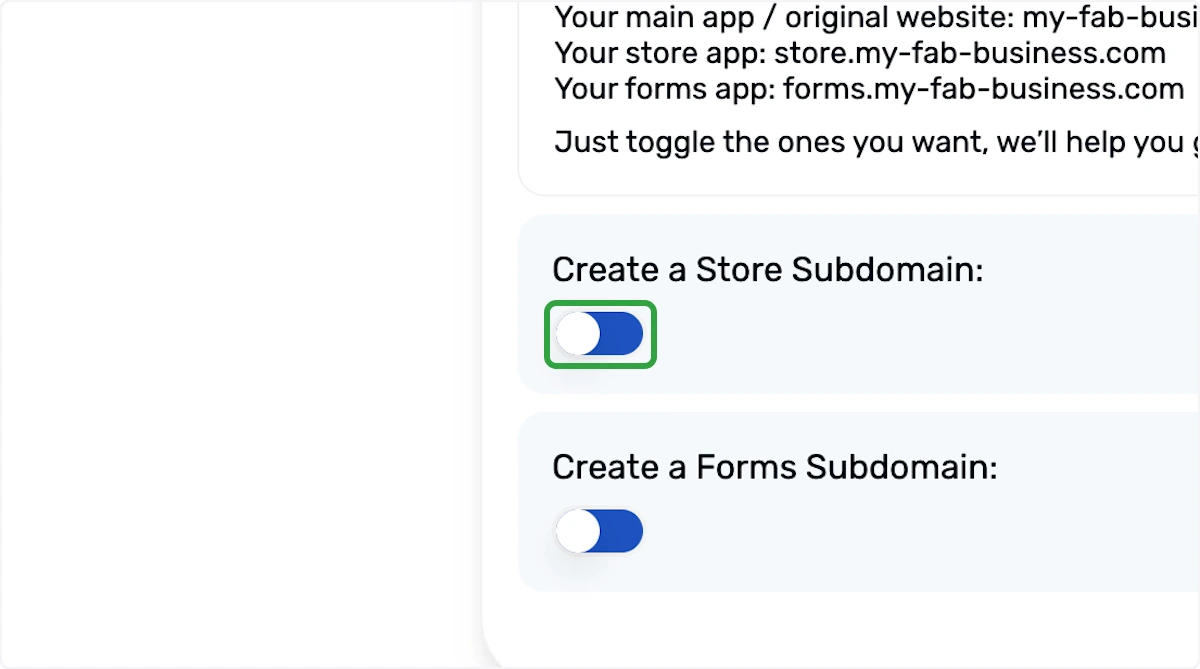
10. Click the Switch
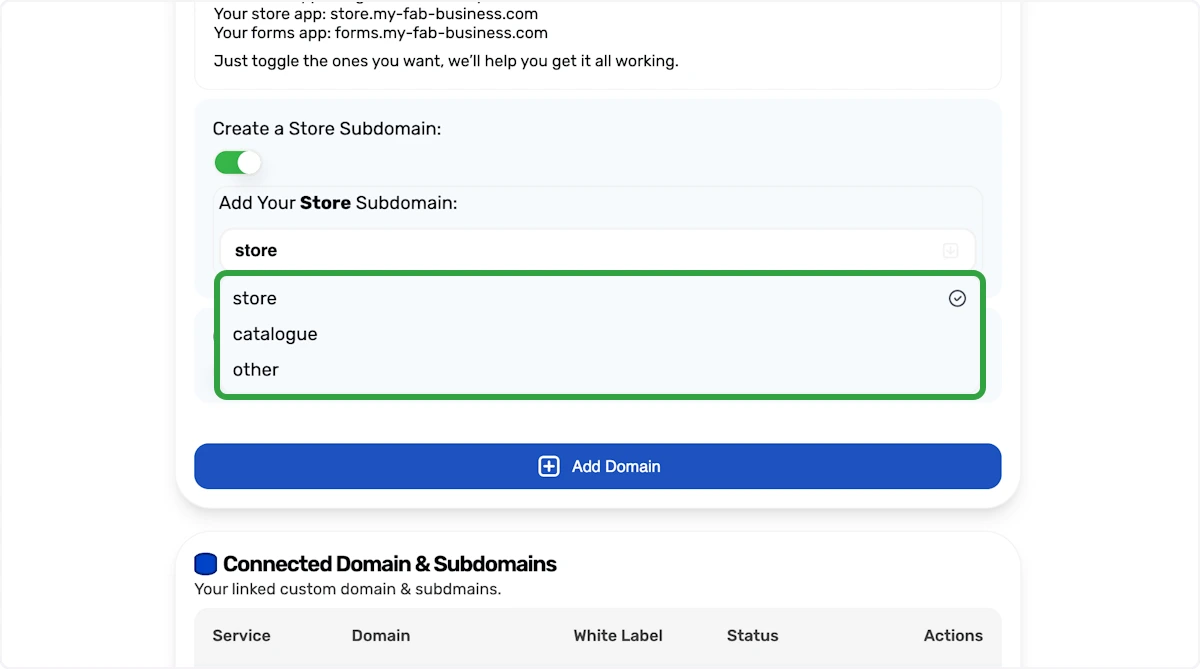
11. Choose an Option
Choose an option from the drop-down box, in this case we will use other to create store.my-fab-business.com
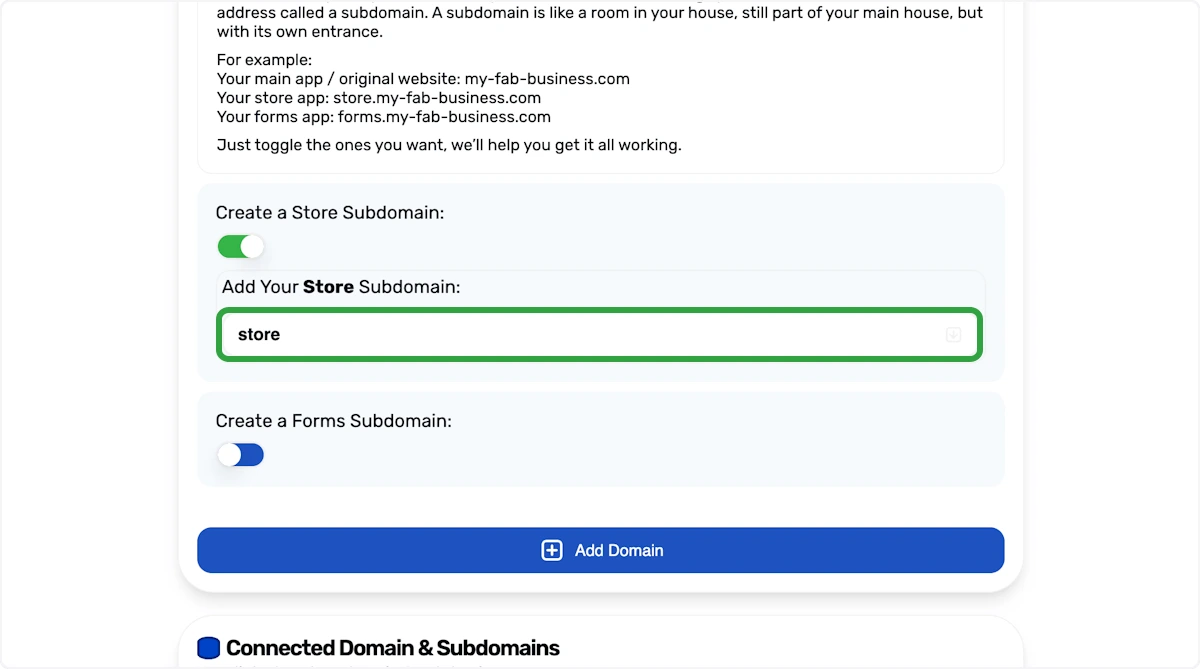
12. Choose an Option
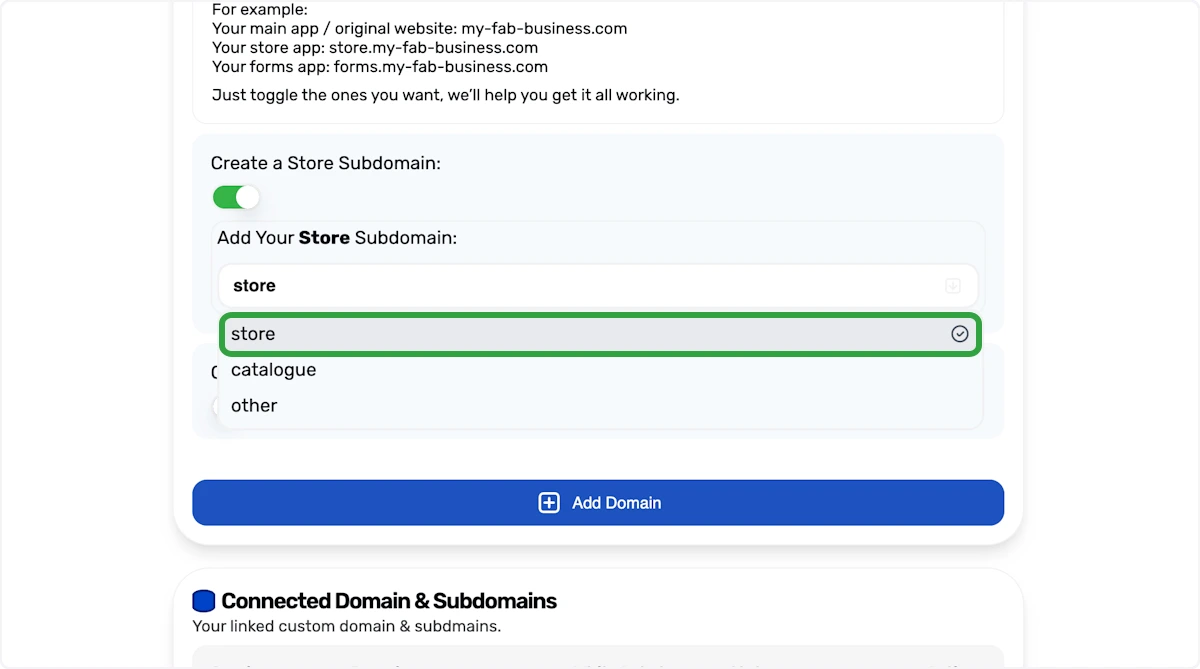
13. Click on store
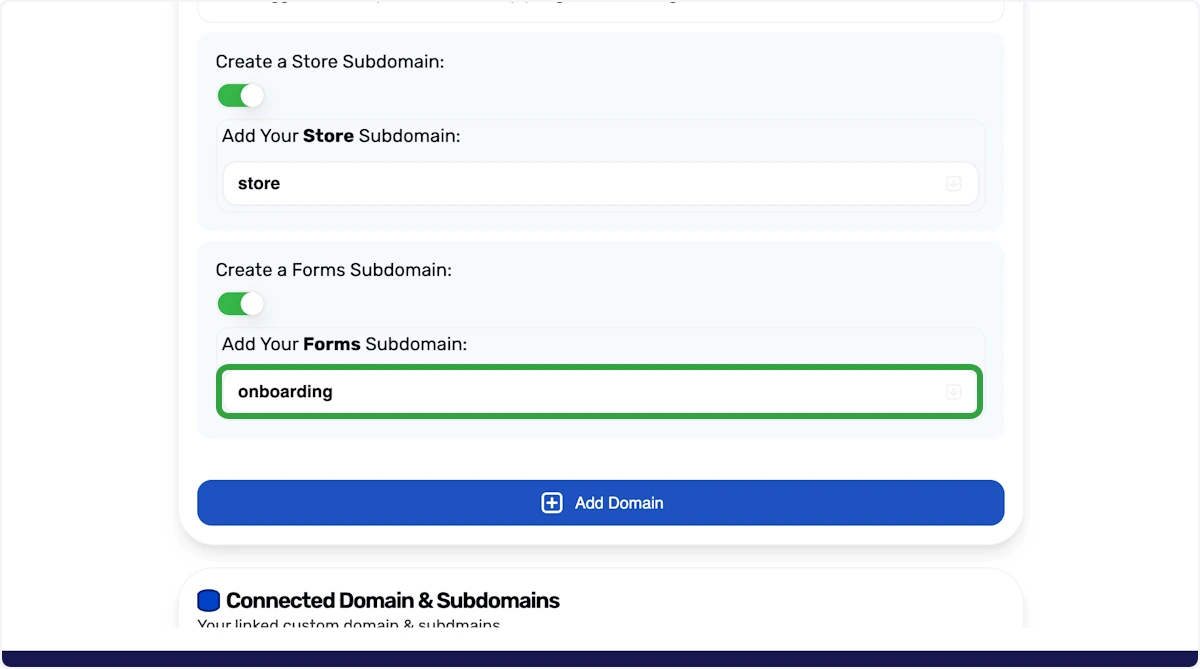
14. Create a Forms Subdomain
Now You'll create the forms subdomain.
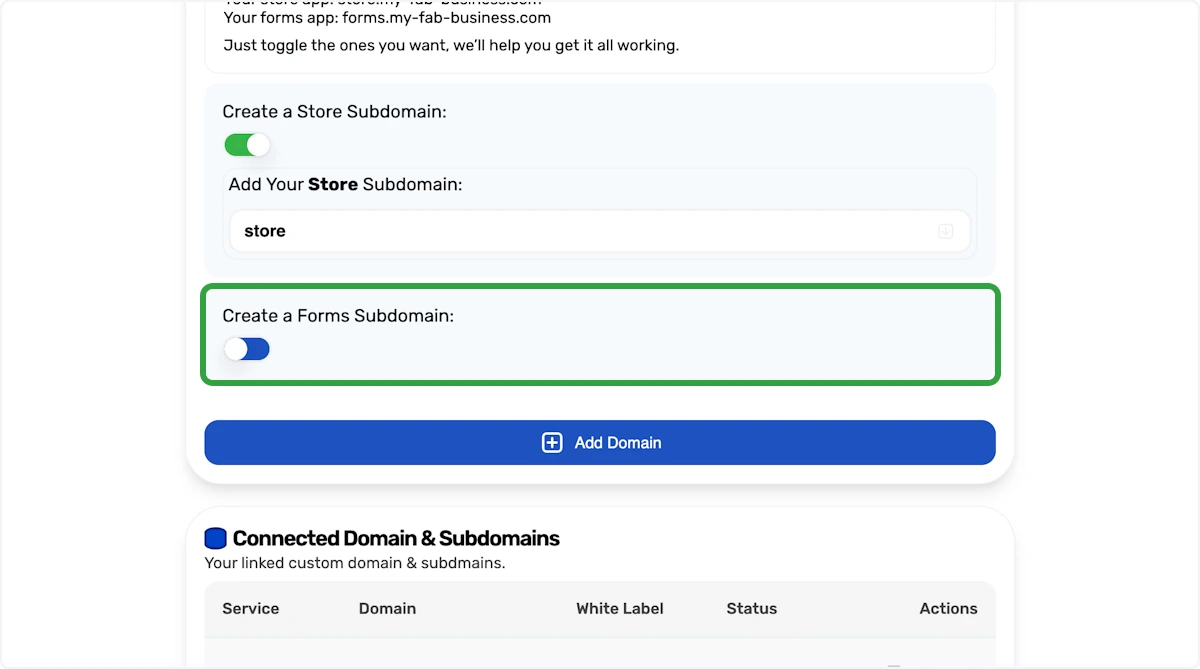
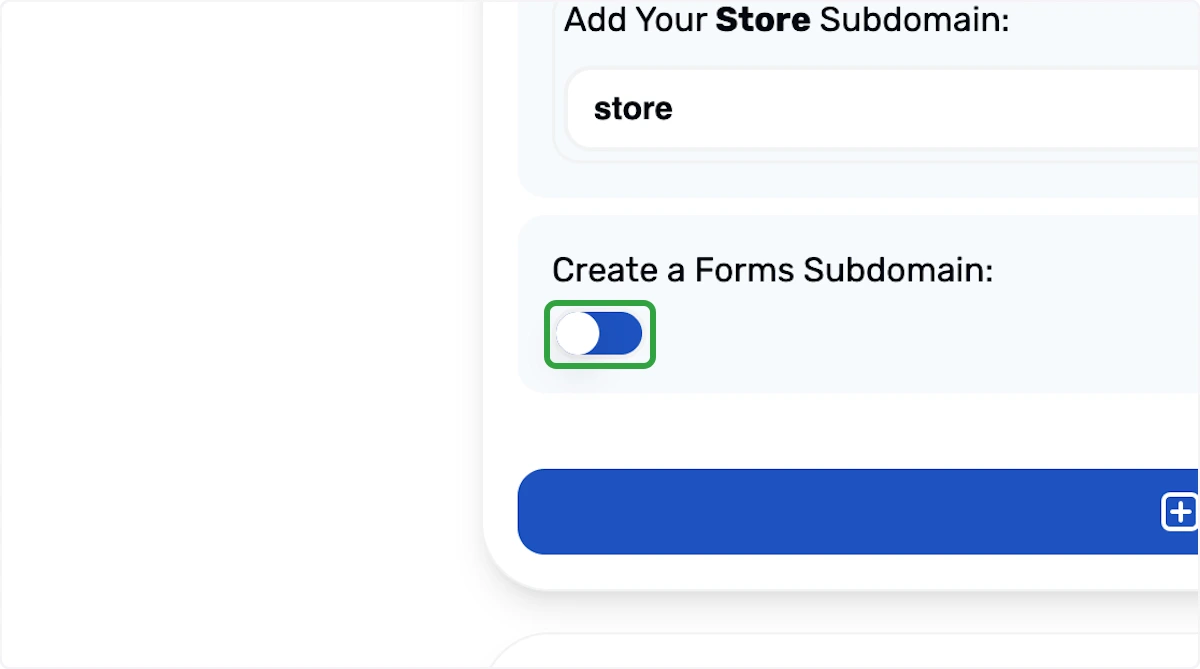
15. Click the switch
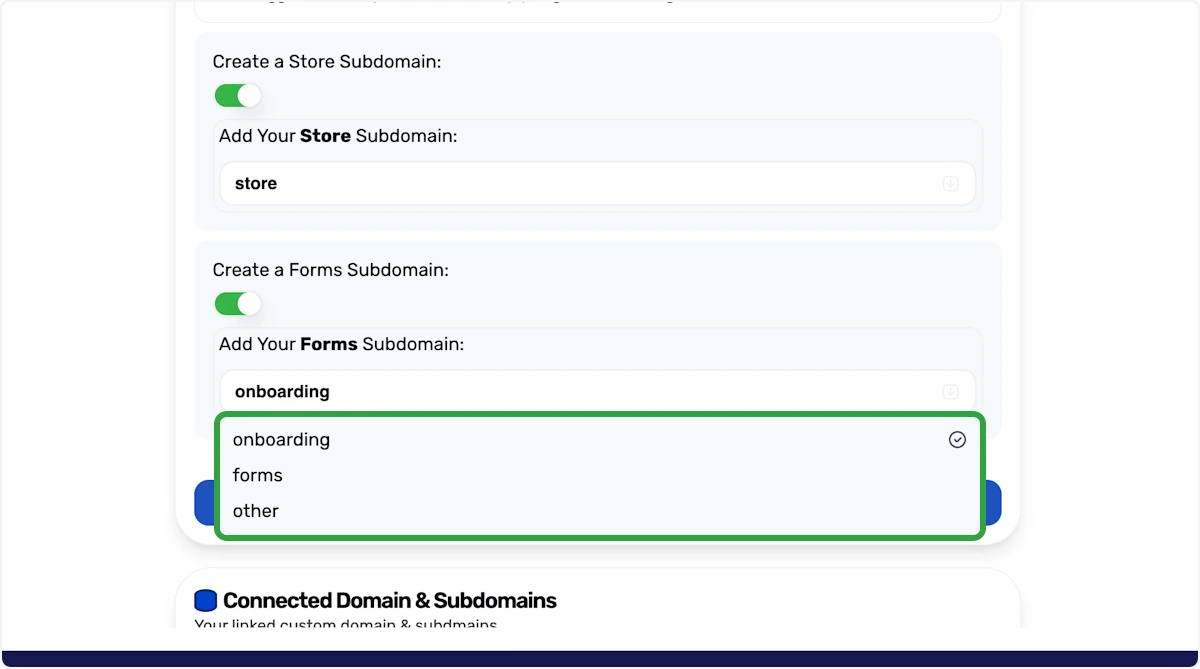
16. Choose an Option
Choose an option from the dropdown box, in this case we will use other to create submissions.my-fab-business.com
17. Choose an Option
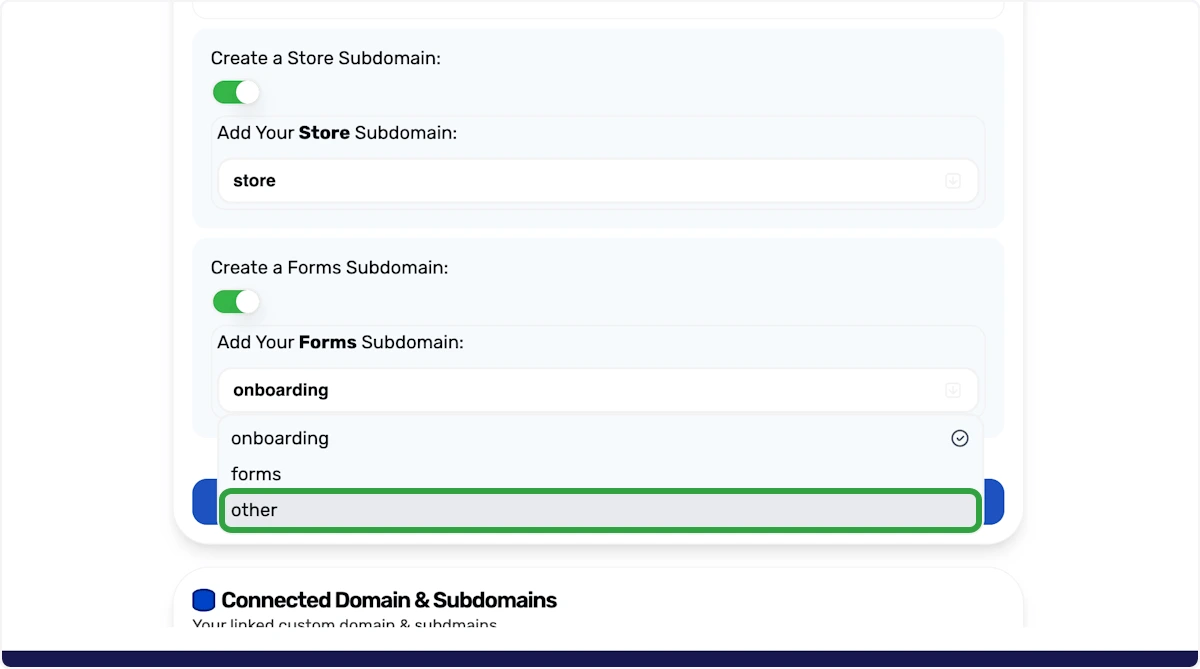
18. Click on other
You can use anything in the dropdown. In this example we'll add a custom subdomain so click on other option.
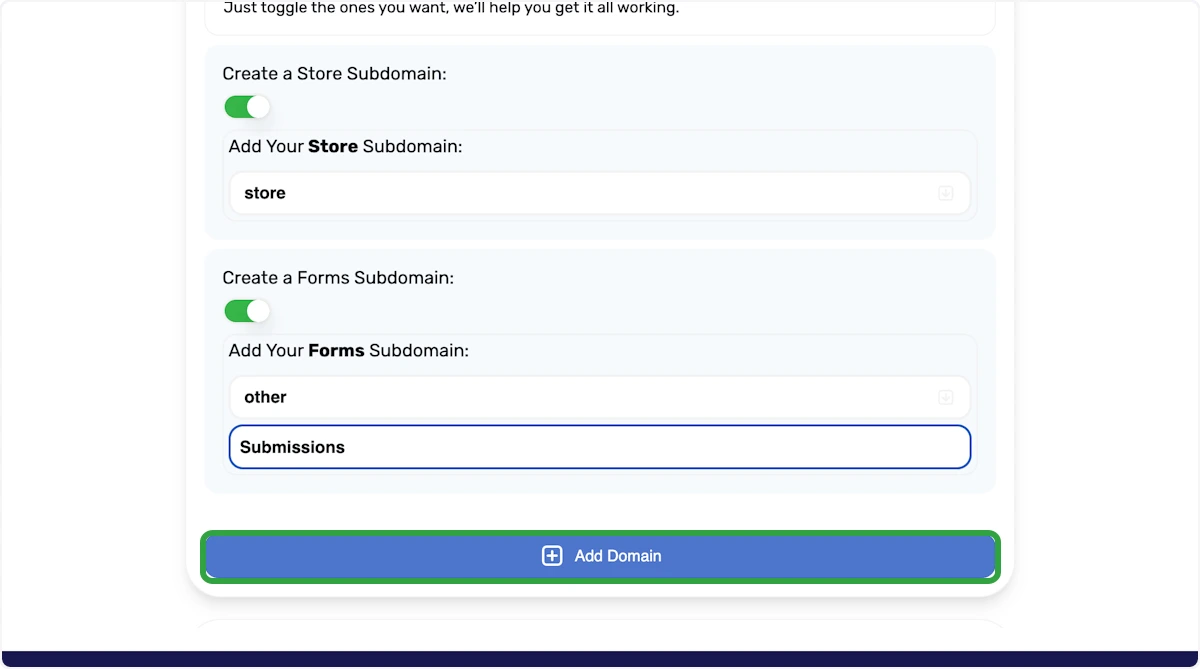
19. Type "Submissions"
We're going to create submissions.my-fab-business.com. In the input box, enter submissions.
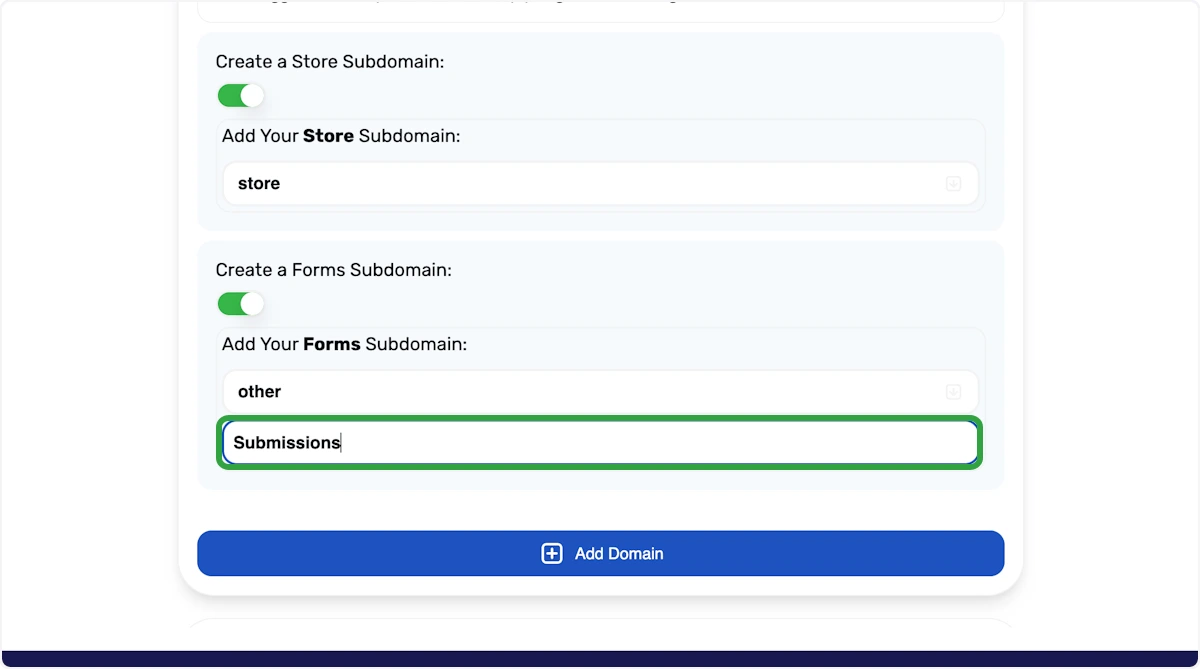
20. Click on Add
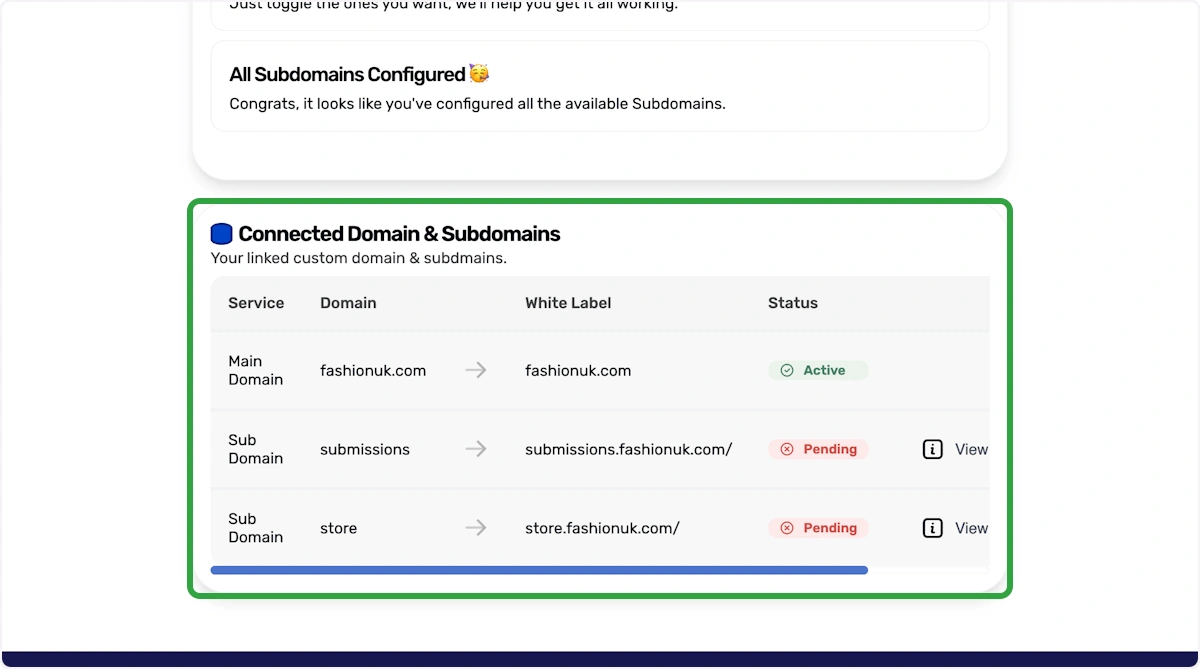
21. Connected Domain & Subdomains
You'll now see that the main name is connected and your subdomains are pending. We now require you to go to your domain name provider and add some simple DNS records. These help our systems talk to your DNS provider to automatically create a SSL certificate and understand that you are the owner of the domain name.
22. Main Domain
You main (root) domain should be active instantly. If not, please reach out to support or try deleting and re-adding again.
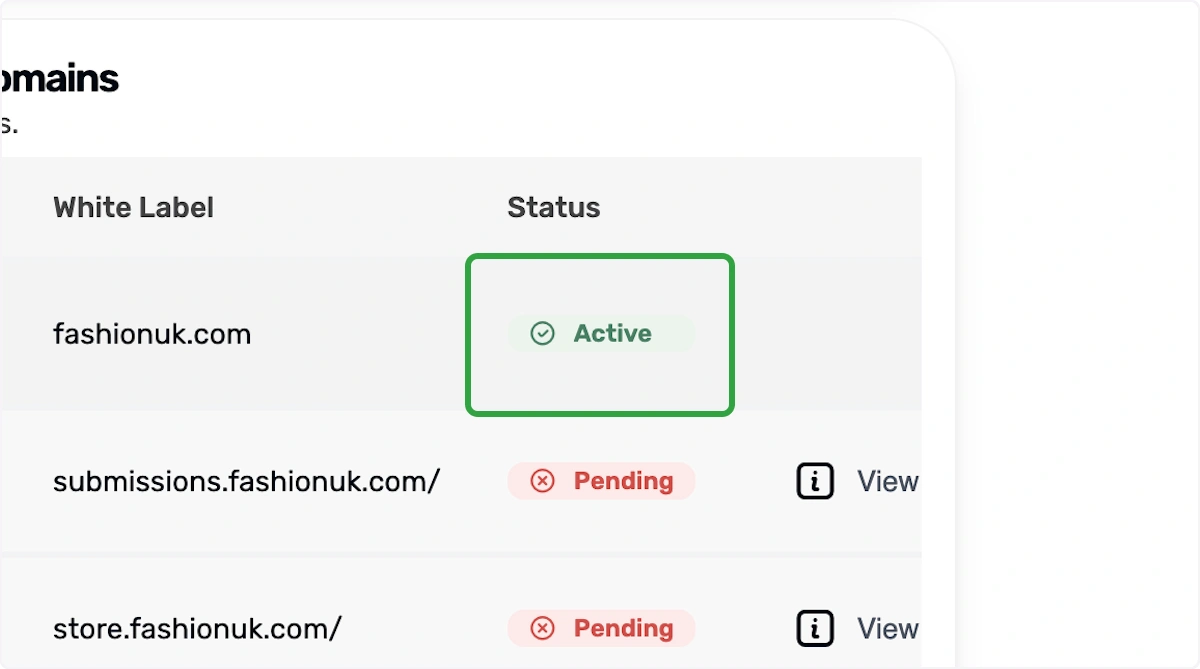
23. Pending
Your subdomains will be pending we will configure these now.

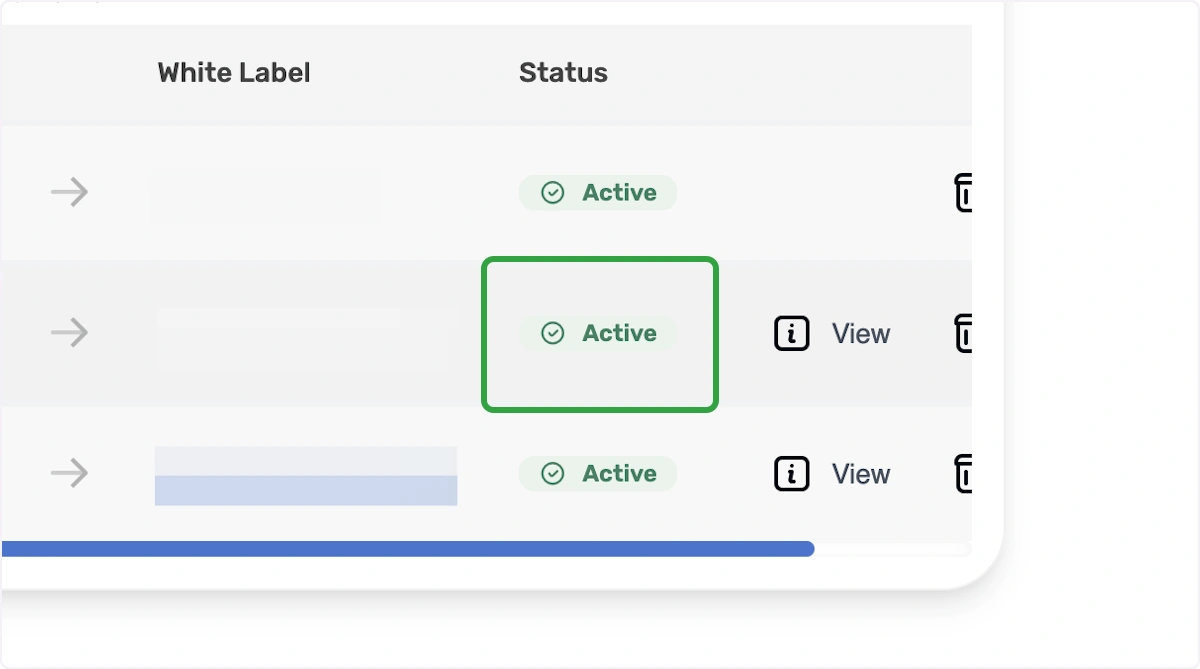
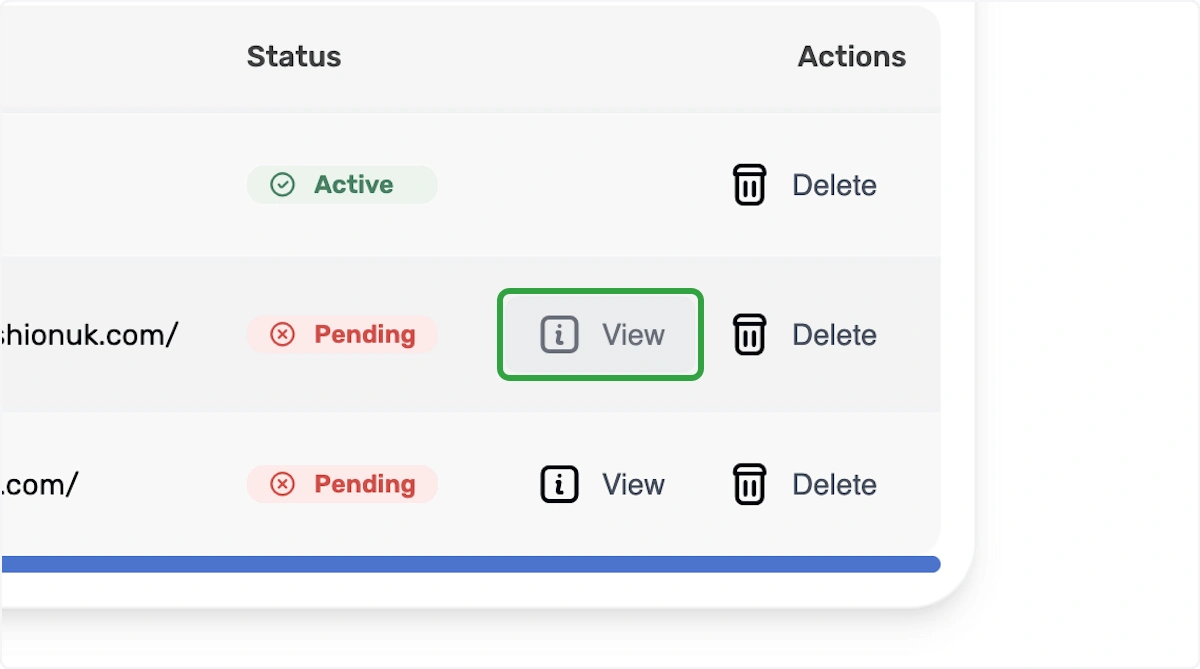
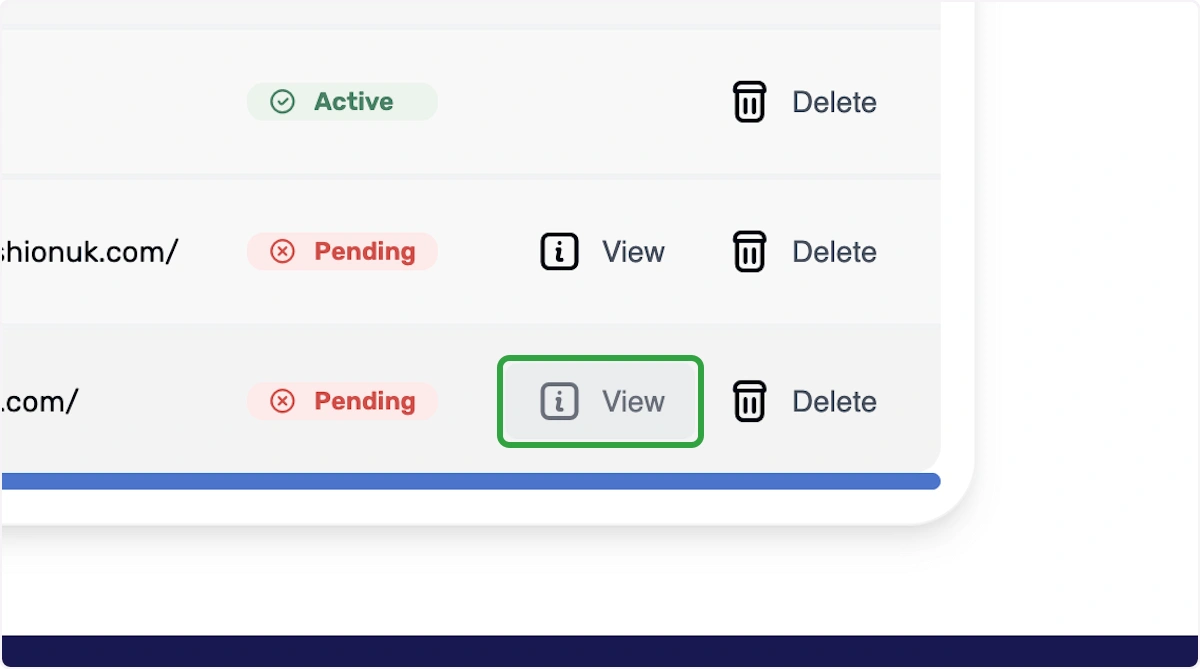
24. Click on View
This will configure the form software for submissions.my-fab-business.com. Click on view and the modal window will show.
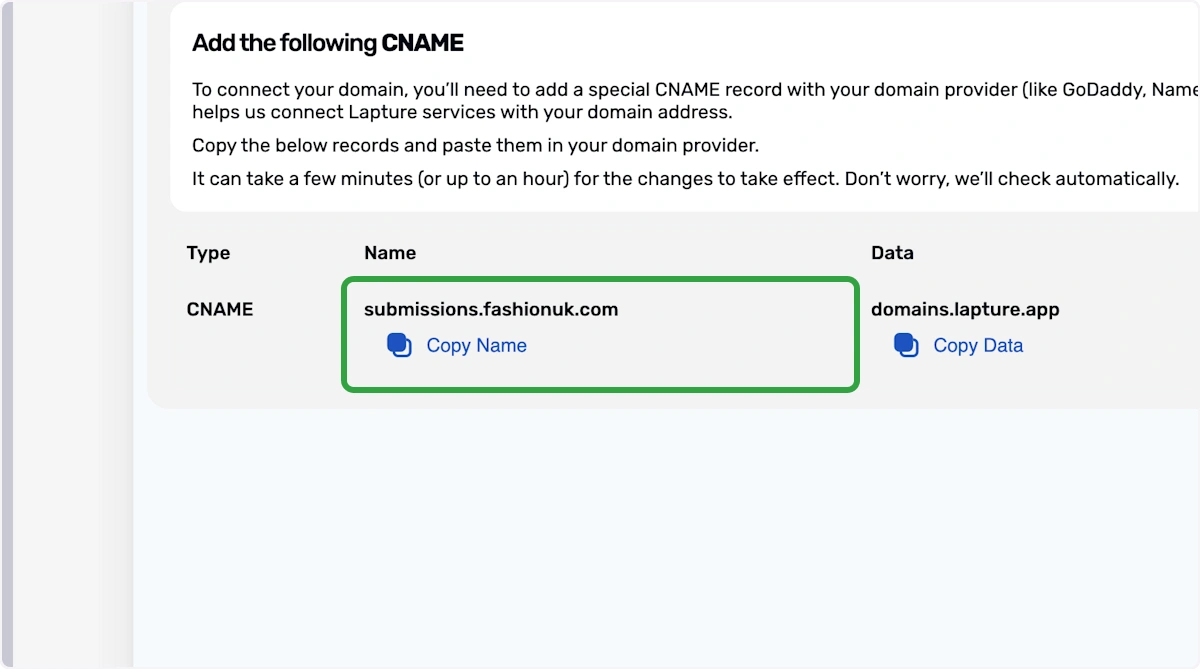
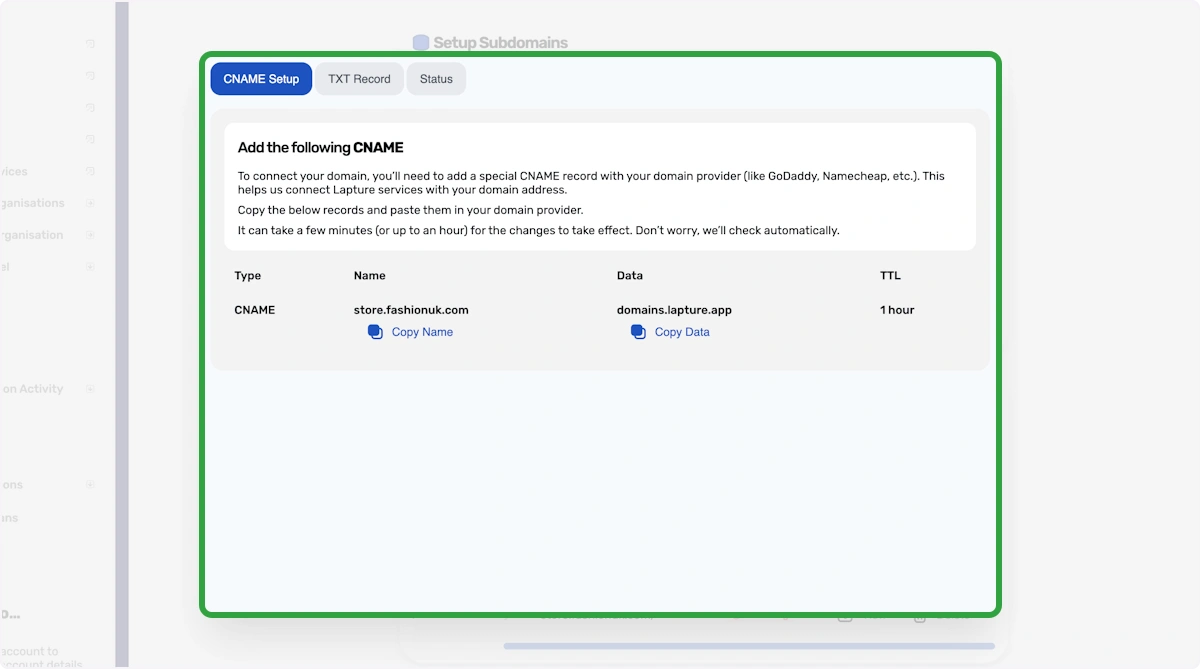
25. Modal
You should now see a modal window like this one.

26. Copy Name
Copy the name and paste it into your provider, the type must be a CNAME
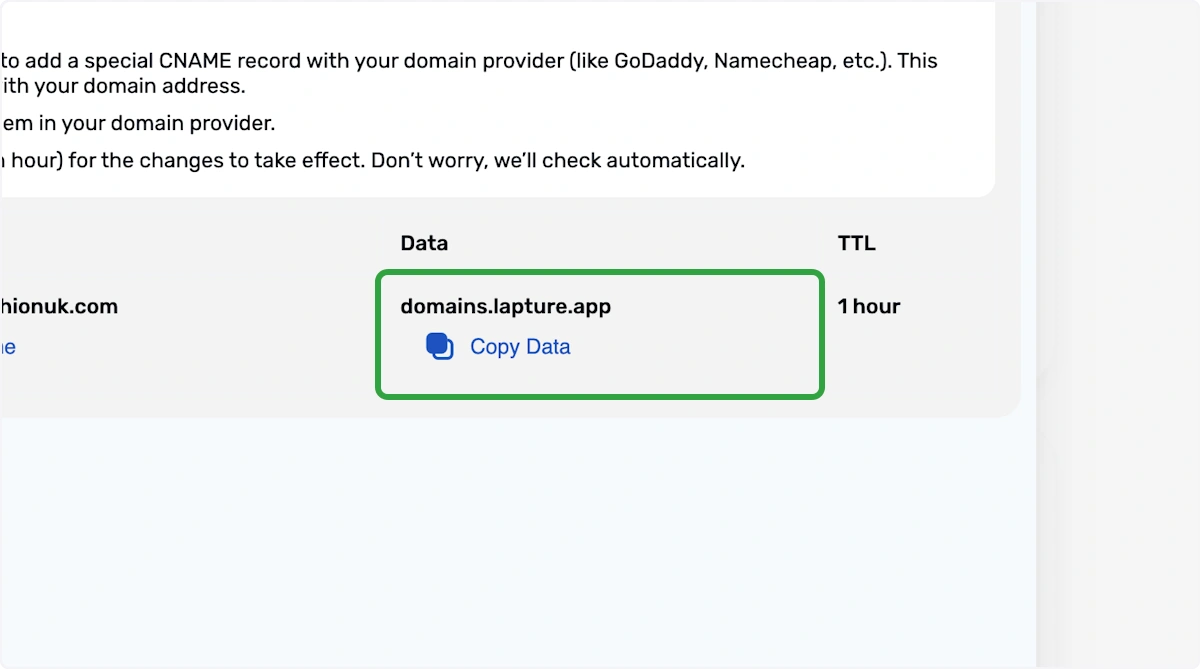
27. Copy domains.lapture.app
Copy the data and paste it into the same CNAME record as before.
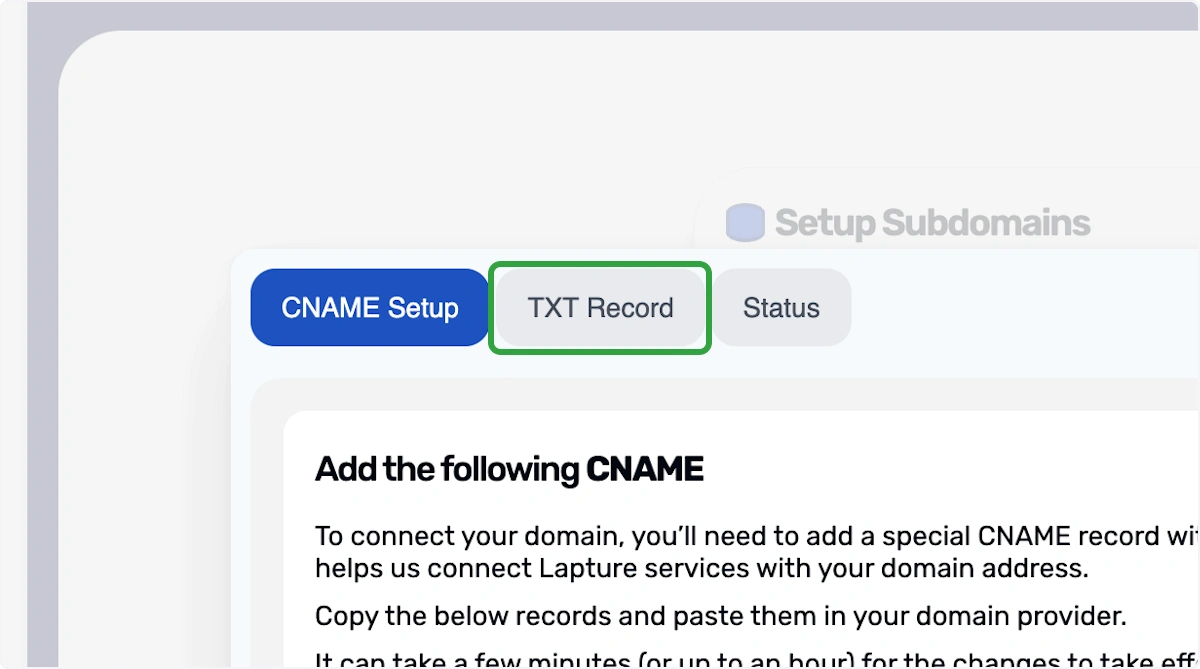
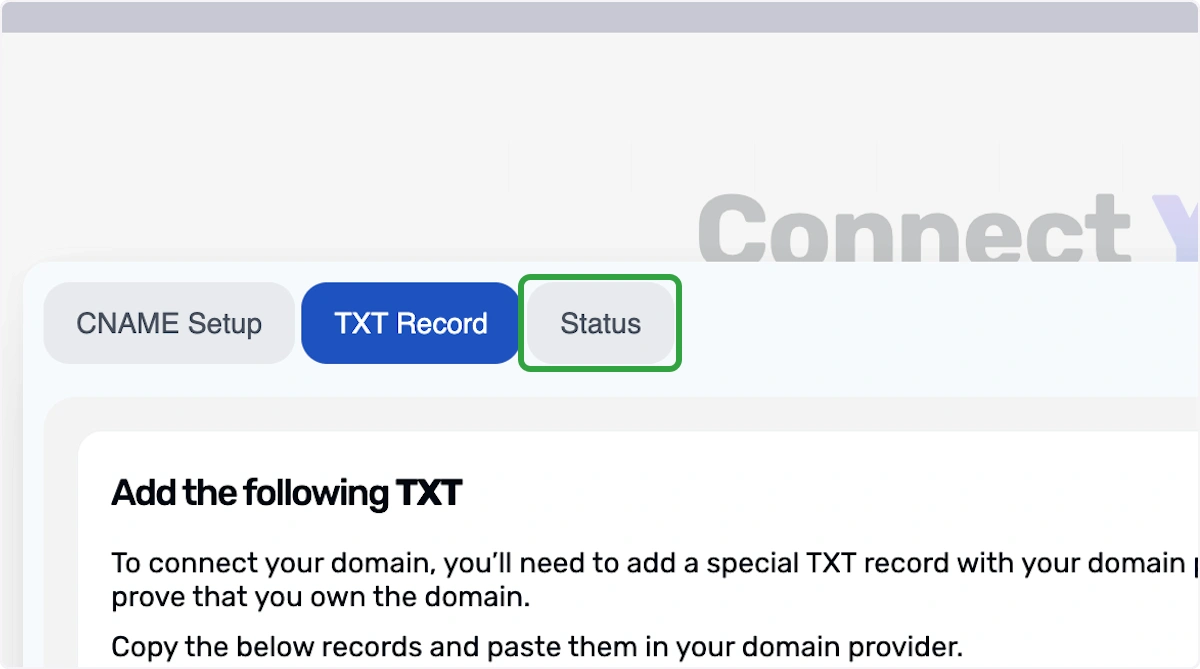
28. Click on TXT Record Tab
29. Copy Name
Copy the name and paste it into your provider, the type must be a TXT.
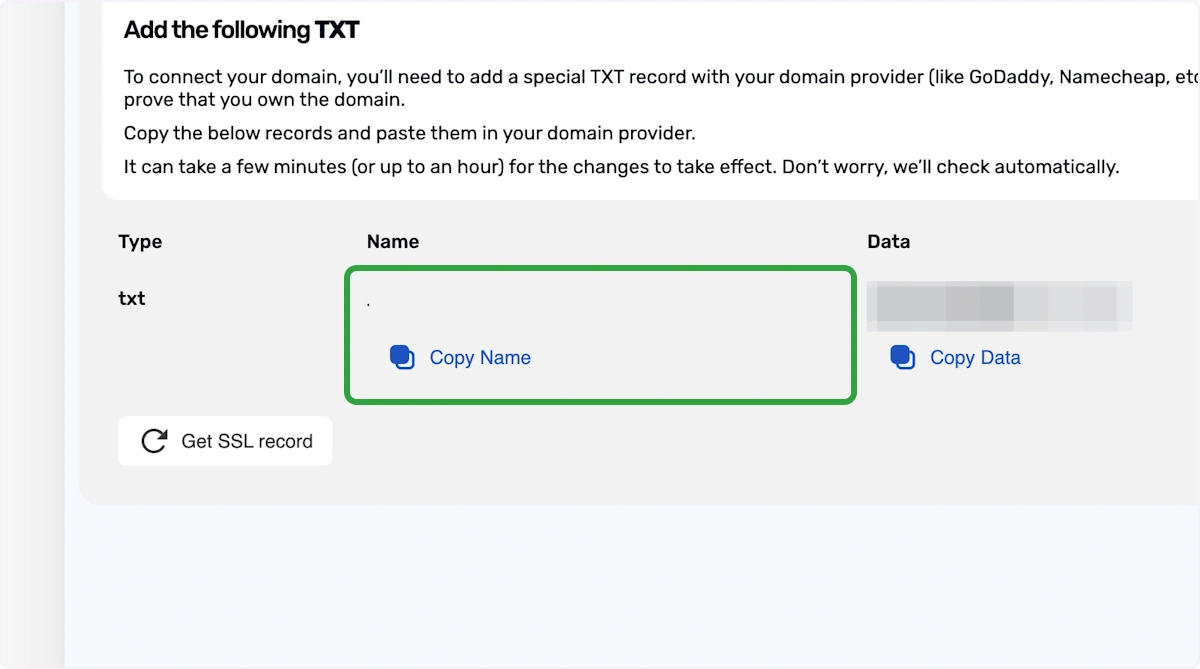
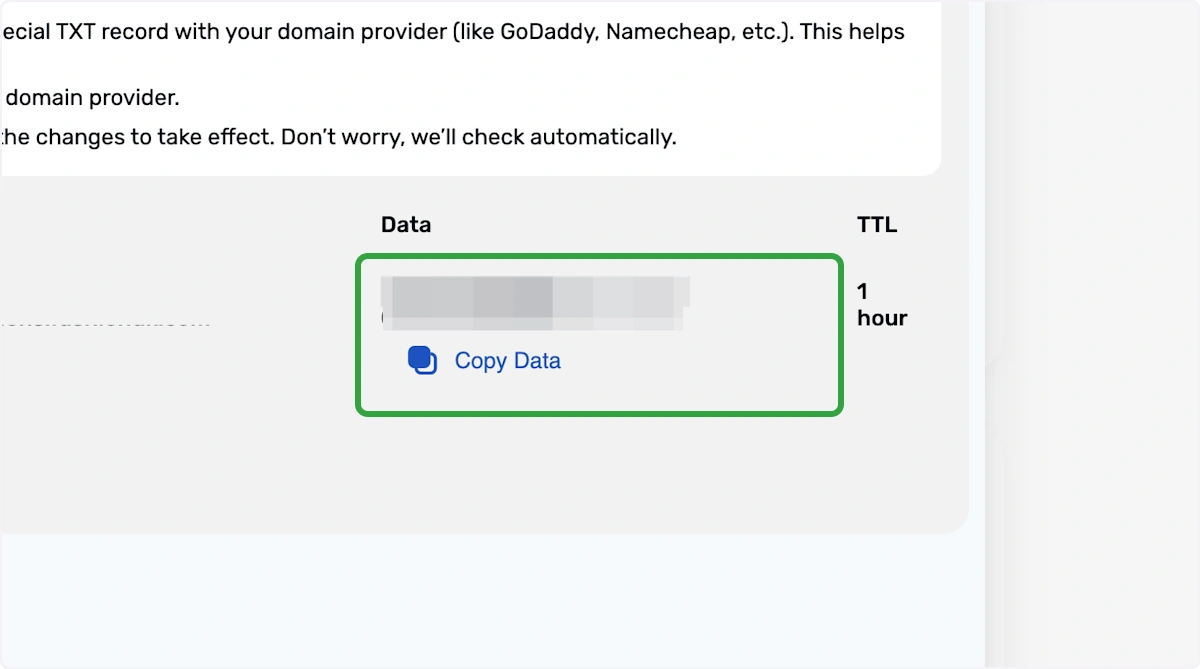
30. Copy Data
Copy the data and paste it into the same TXT record as before.
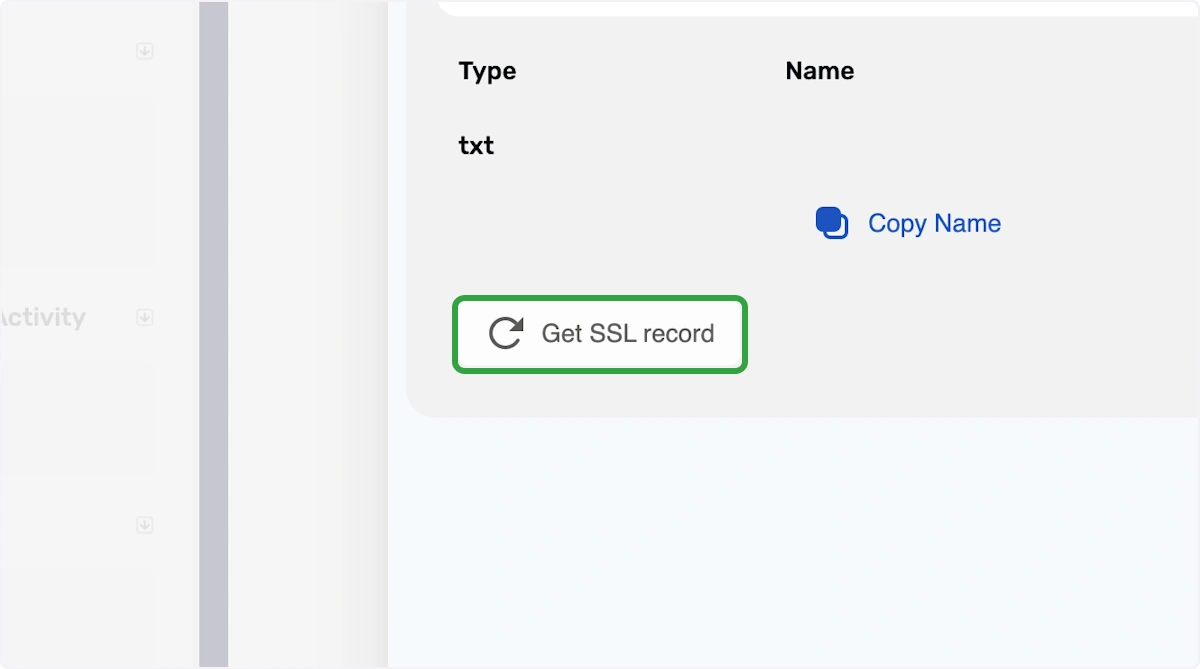
31. Click on Get SSL Record
Now we need to generate an SSL certificate. Click "Get SSL Record".
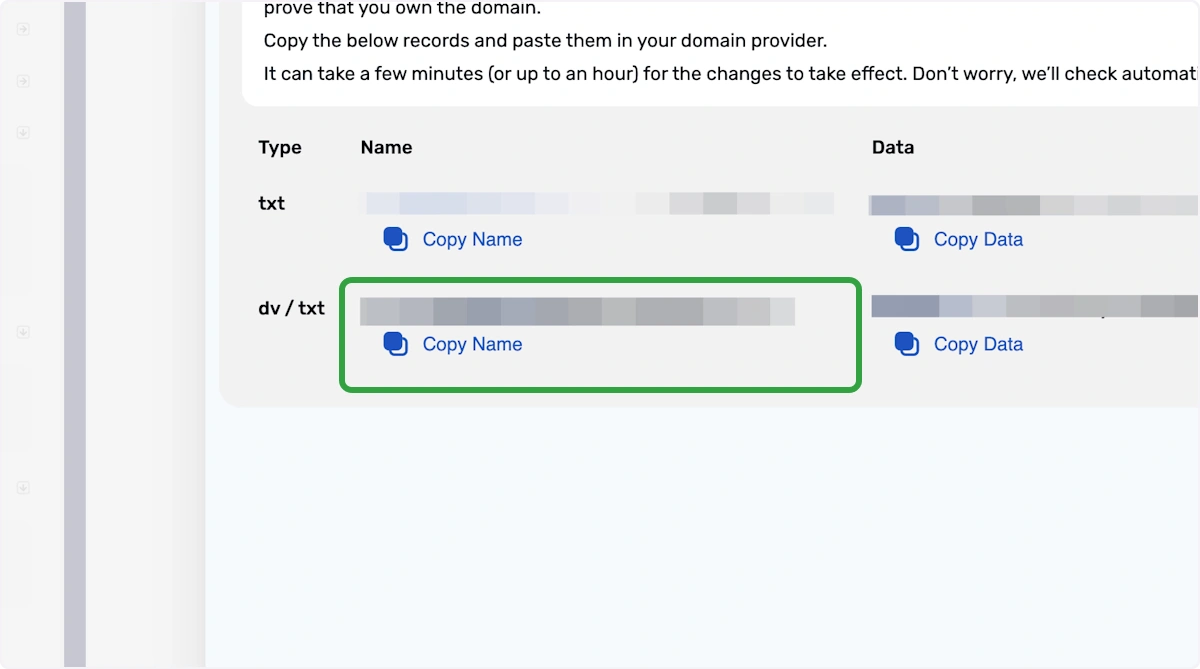
32. Copy Name
Copy the name and paste it into your provider, the type must be a new TXT.
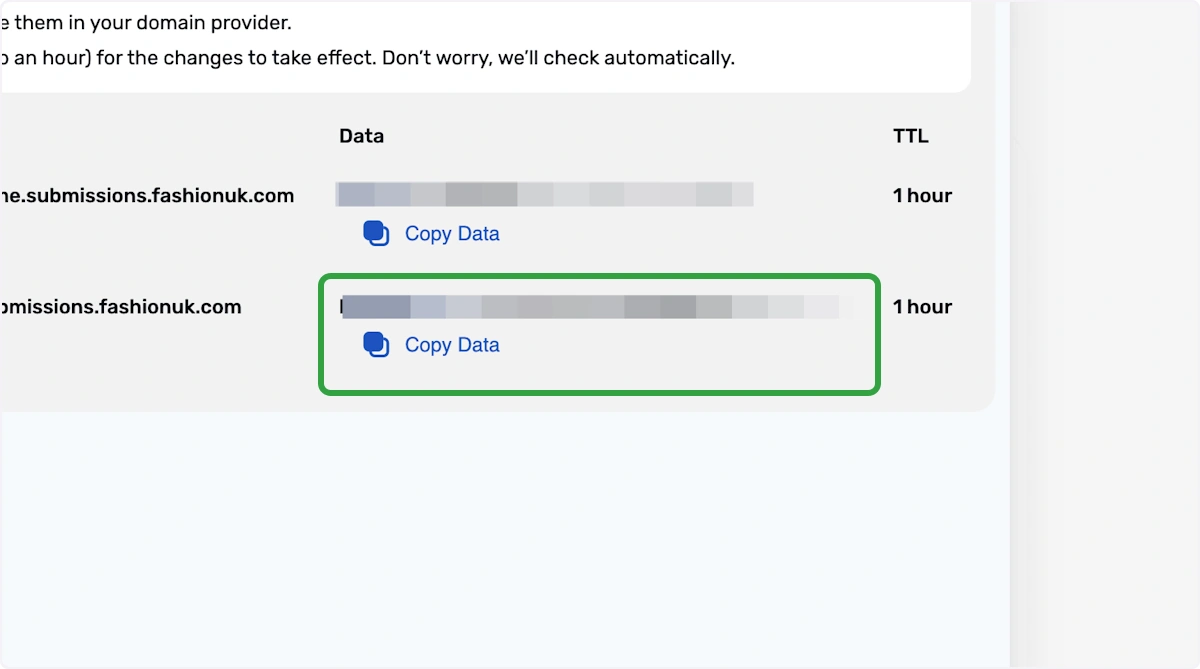
33. Copy Data
Copy the data and paste it into the same TXT record as before.
ℹ️ If configured correctly, you should now have 1 CNAME record and 2 TXT records.
34. Click on Status
From here you can check the status. Depending on your DNS provider, it could take up to 24 to 48 hours to configure. Don't worry, we'll automatically check this for you but if you want to check the status yourself, you can do so here.
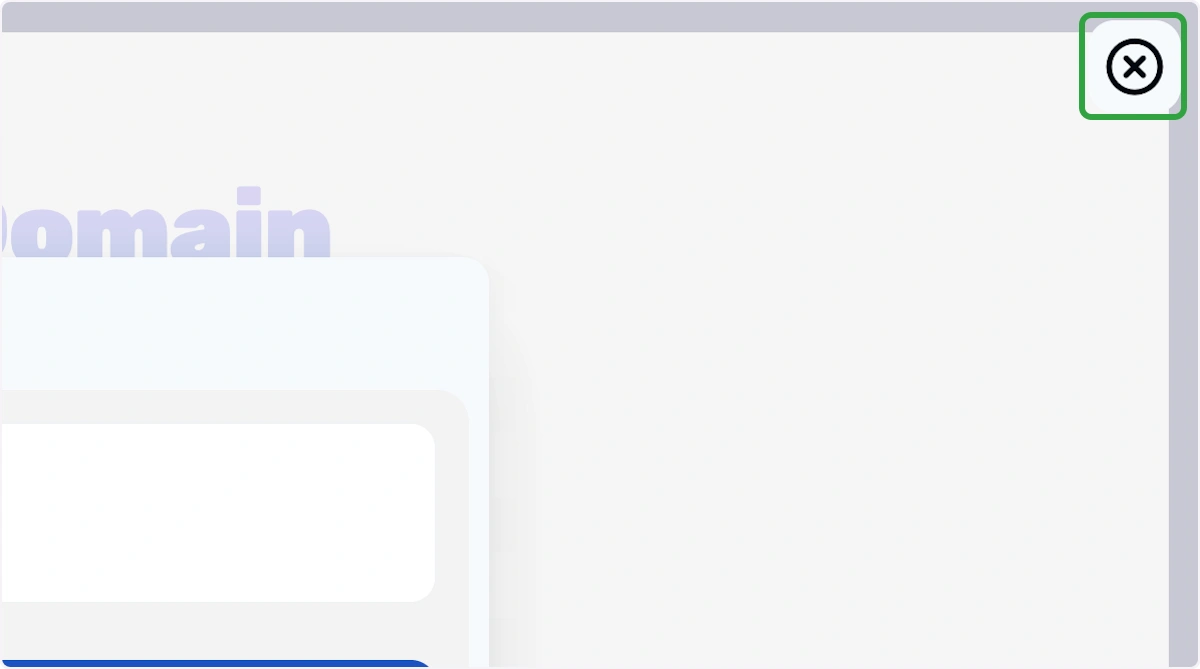
35. Click on Close Modal
36. Click on View
Repeat the same steps for any other subdomains.
37. Model
You should now see a modal window like this one. Repeat the steps to copy the 1 CNAME and TXT records to your DNS provider for each subsequent subdomain.
38. Active Status
You'll be able to use your domain name when you see the status reach Active.