Manage an Org in Lapture Auth
How to manage an organisation in Lapture Auth
If you've connected your own domain the theme may not be yellow. Use your own domain insted of store.lapture.app
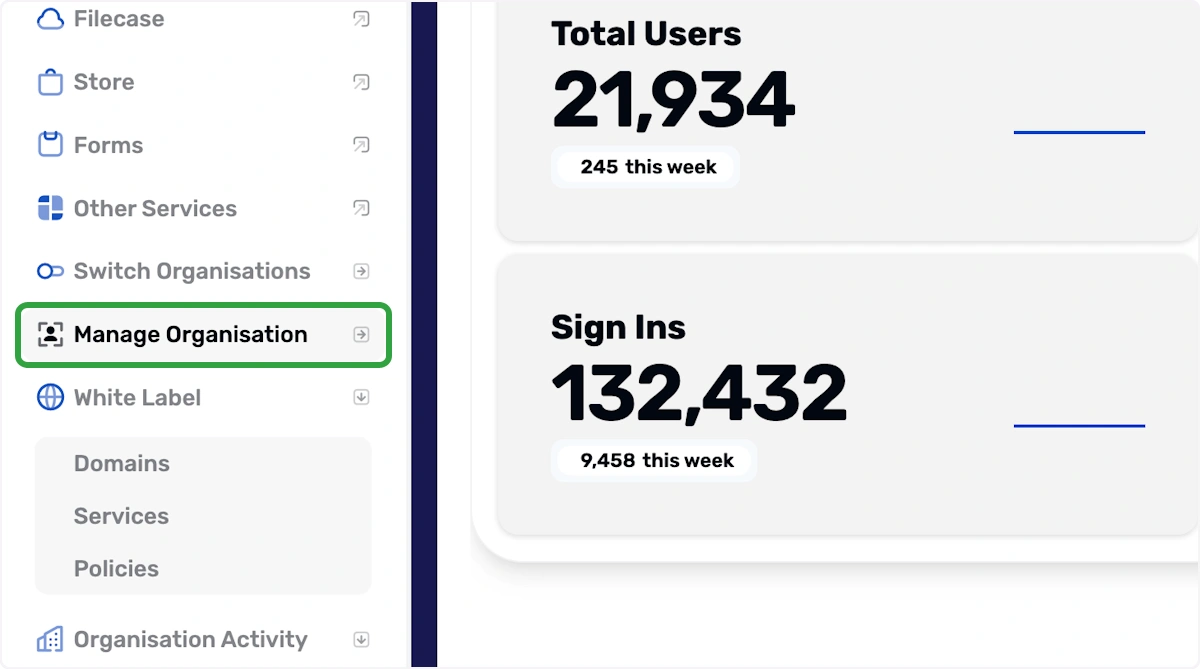
1. Click on Manage Organisation
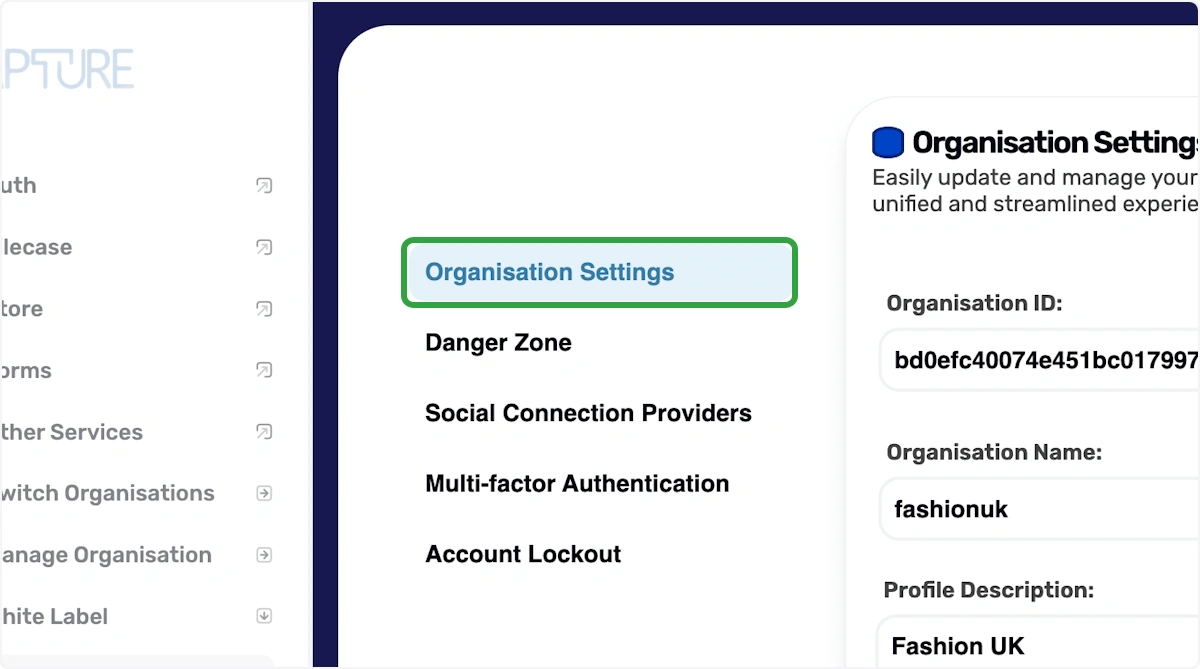
2. Click on Organisation Settings
This is where your Organisation ID, Organisation Name, Organisation Profile Description, Organisation Logo and Organisation Address is located.
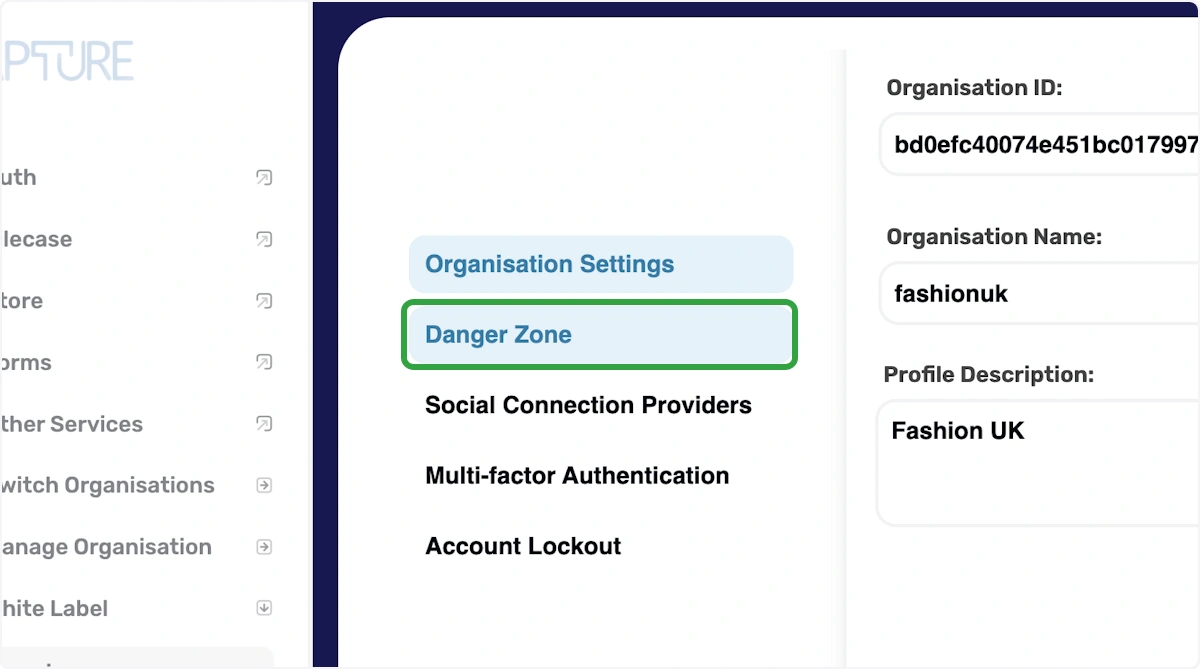
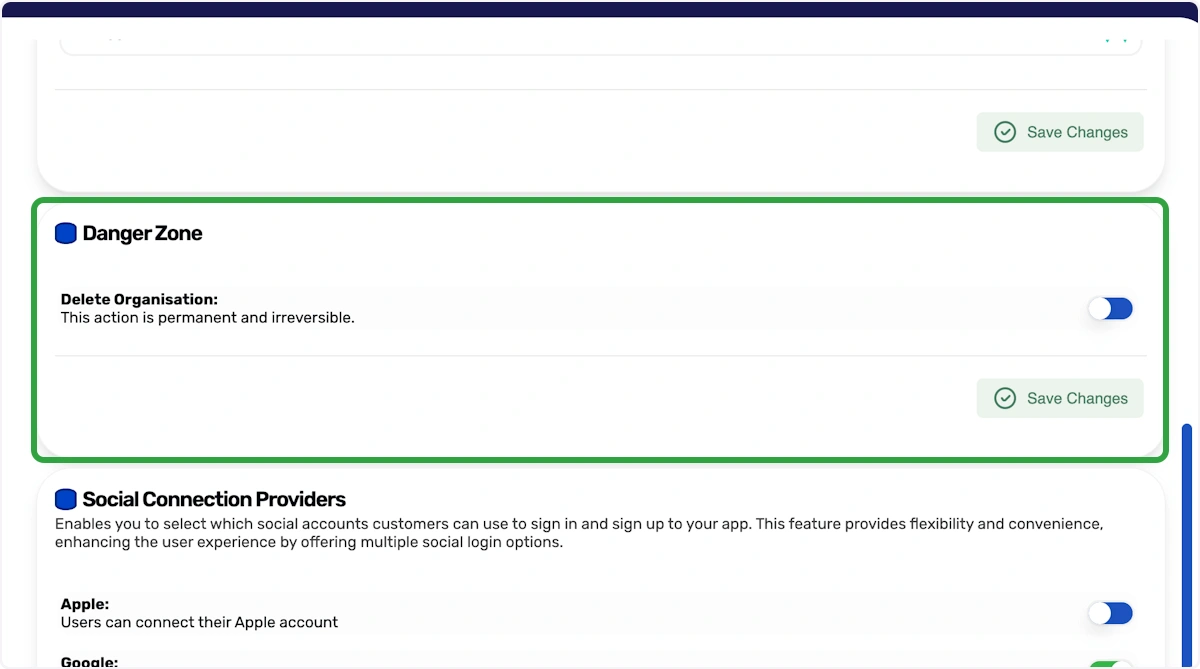
3. Danger Zone
This is where you can delete your organisation. We recommend cancelling your subscription first.
4. Danger Zone
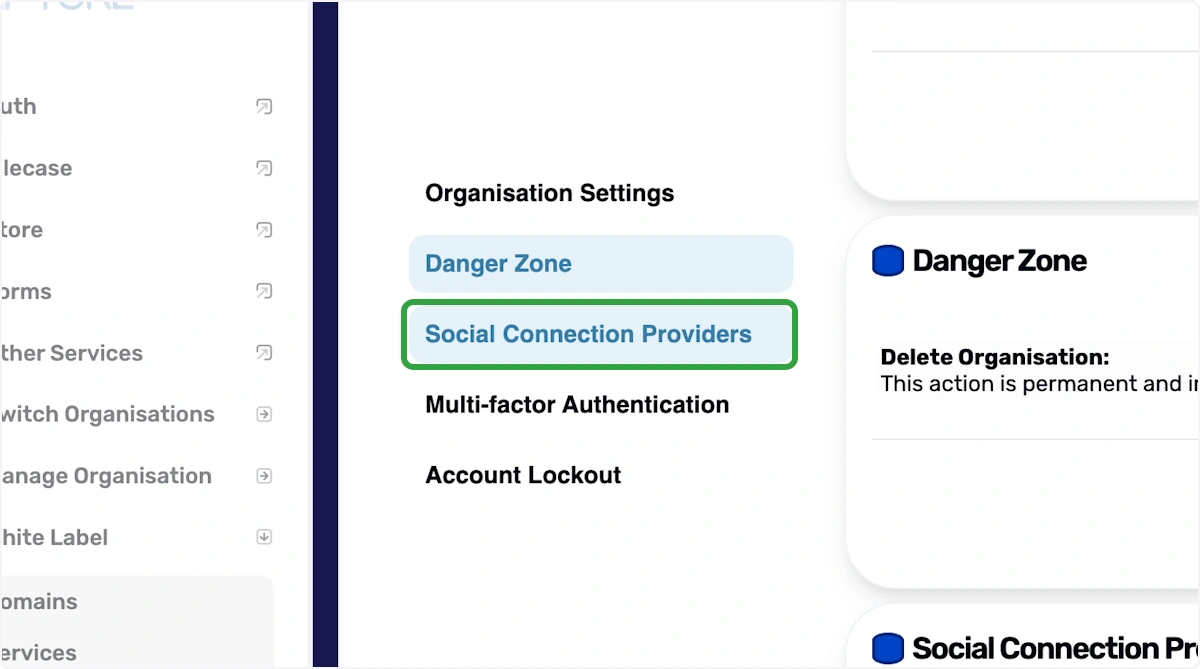
5. Click on Social Connection Providers
Here, you can add oAuth for your customers, fan, team and / or yourself.
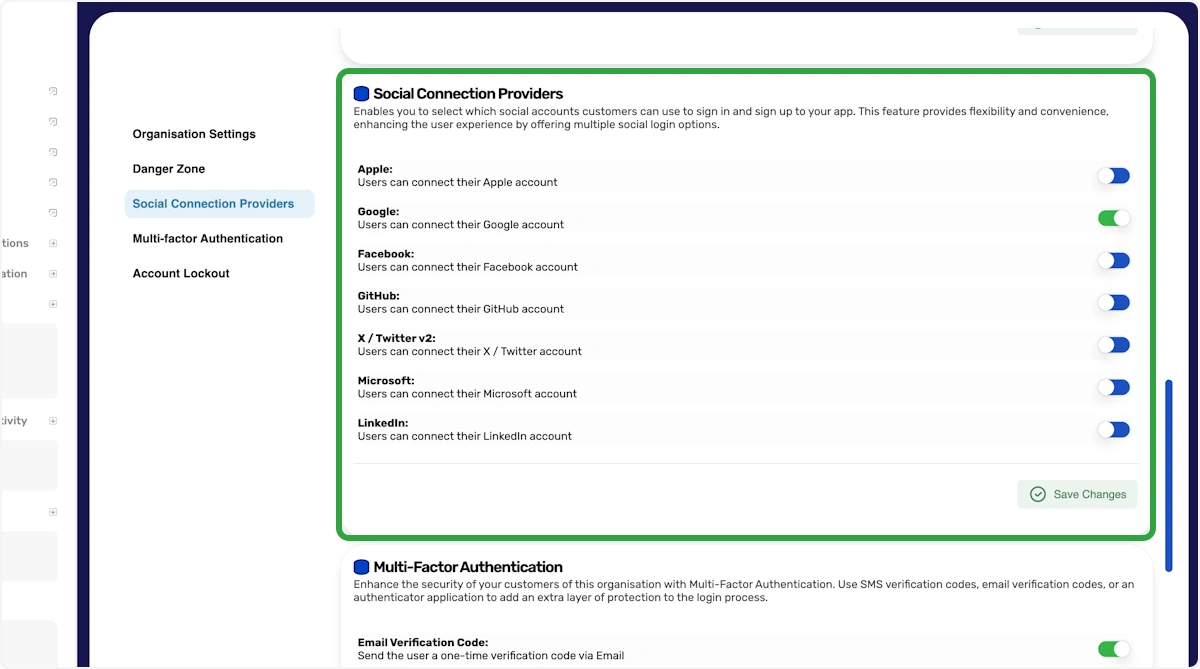
6. Social Connection Providers
Used the switch to turn on a social provider and click save changes.
7. Click on Multi-factor Authentication
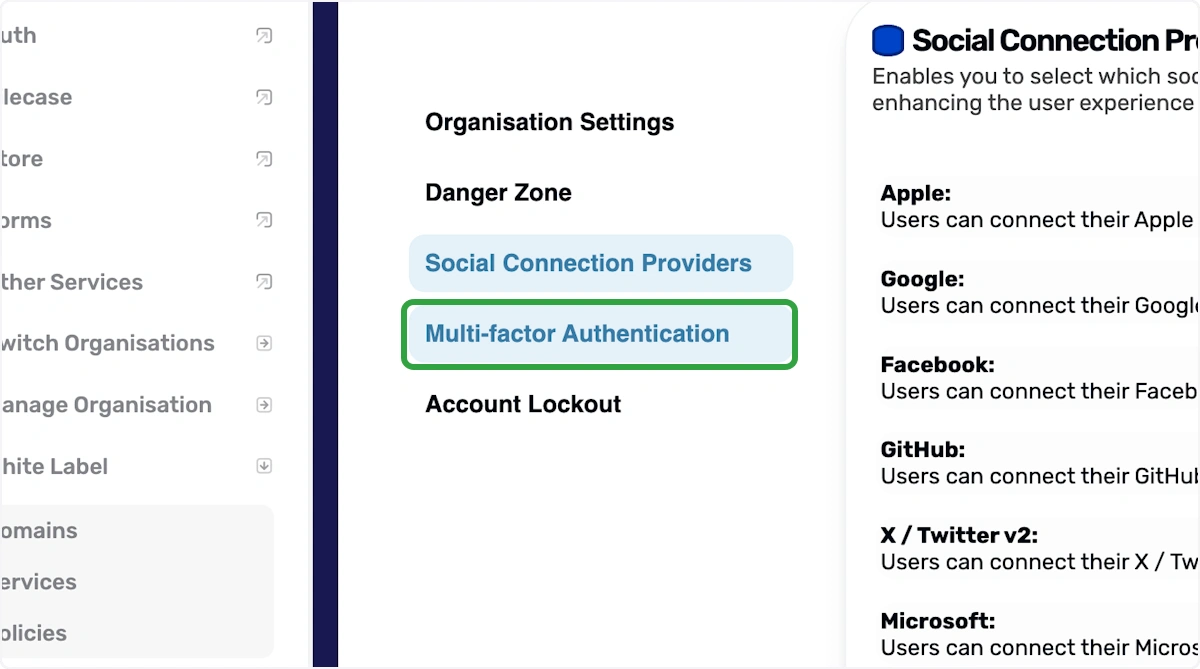
8. Multi-Factor Authentication
Used the switch to turn on a Multi-Factor Authentication and click save changes.
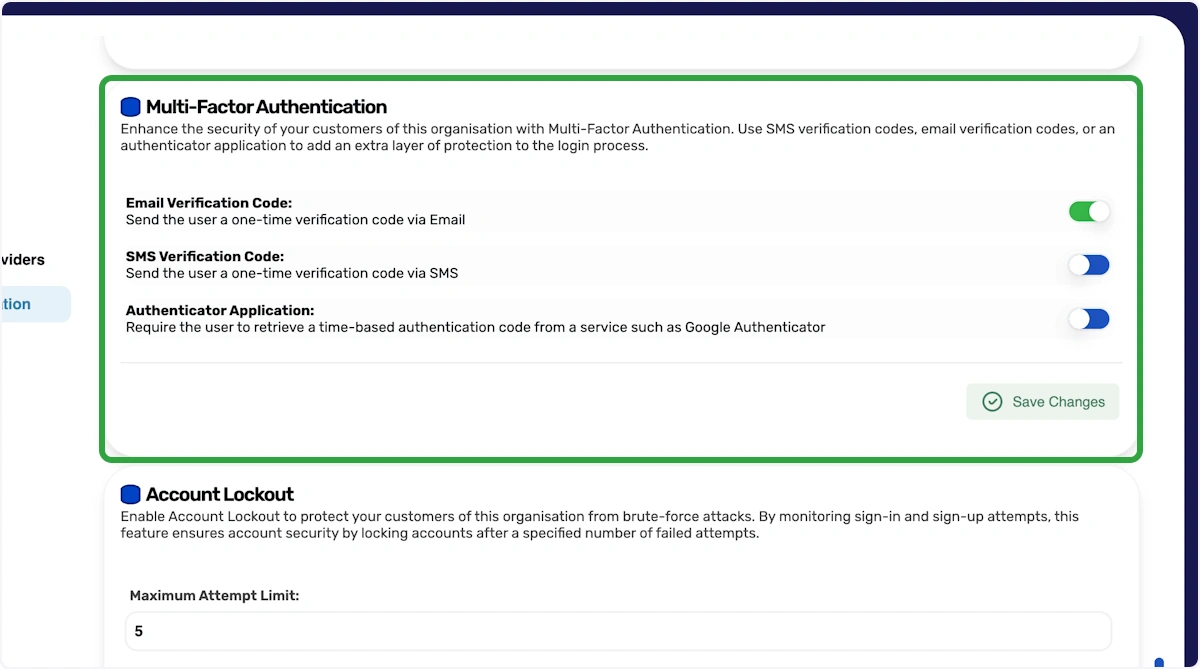
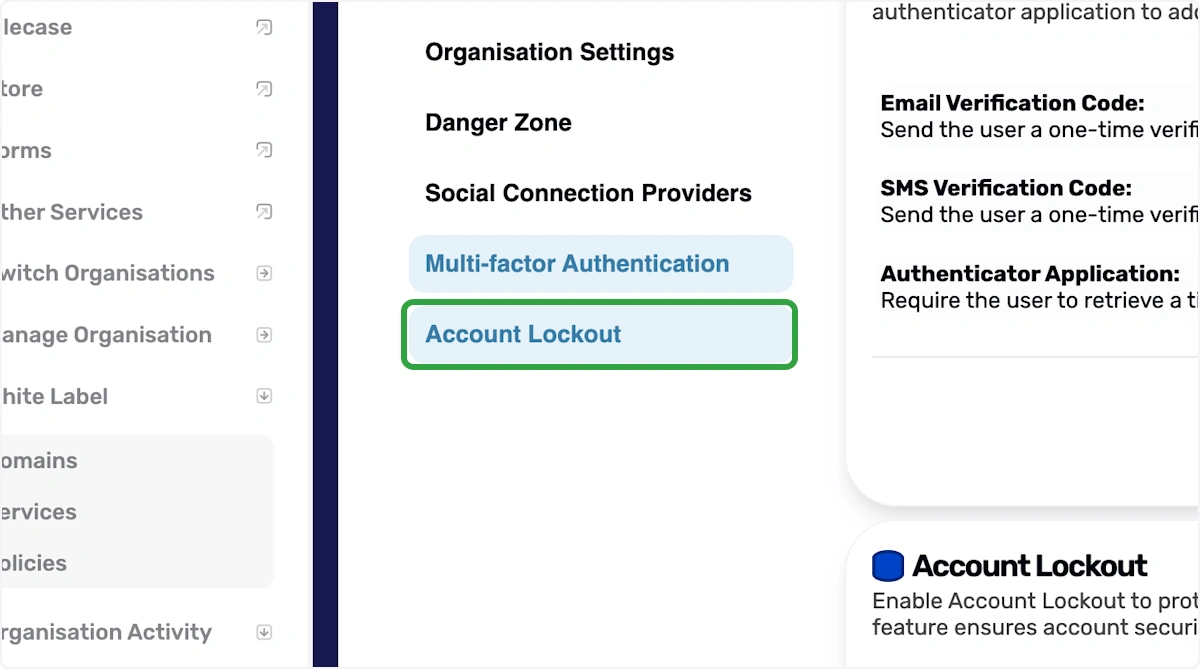
9. Account Lockout
Choose how many attempts a customers, fan, team and / or yourself will have before locking them out of their account and the duration before they can retry.